Get upto 50% off in New Year Offer
The all-in-one tool for Social Media Marketing to reach wider audience
Stay in touch with your prospects & customers using email campagins
contacts, leads and customers management tool
potential user tracking on website tool
Schedule, track, and analyze social media campaigns with ease.
Automate and optimize email campaigns for higher engagement.
Execute and track outbound marketing efforts for better outreach
Drive inbound leads and nurture them through targeted strategies.
Manage marketing projects efficiently from start to finish.
Plan and schedule content seamlessly with an intuitive calendar.
Comprehensive training for enhanced productivity.
Insights and updates for modern professionals.
Curated courses to boost your skills.
In-depth articles for self-service support.
Step-by-step guide to maximize efficiency.
Interactive sessions for hands-on learning.
Regular updates and tips in your inbox.
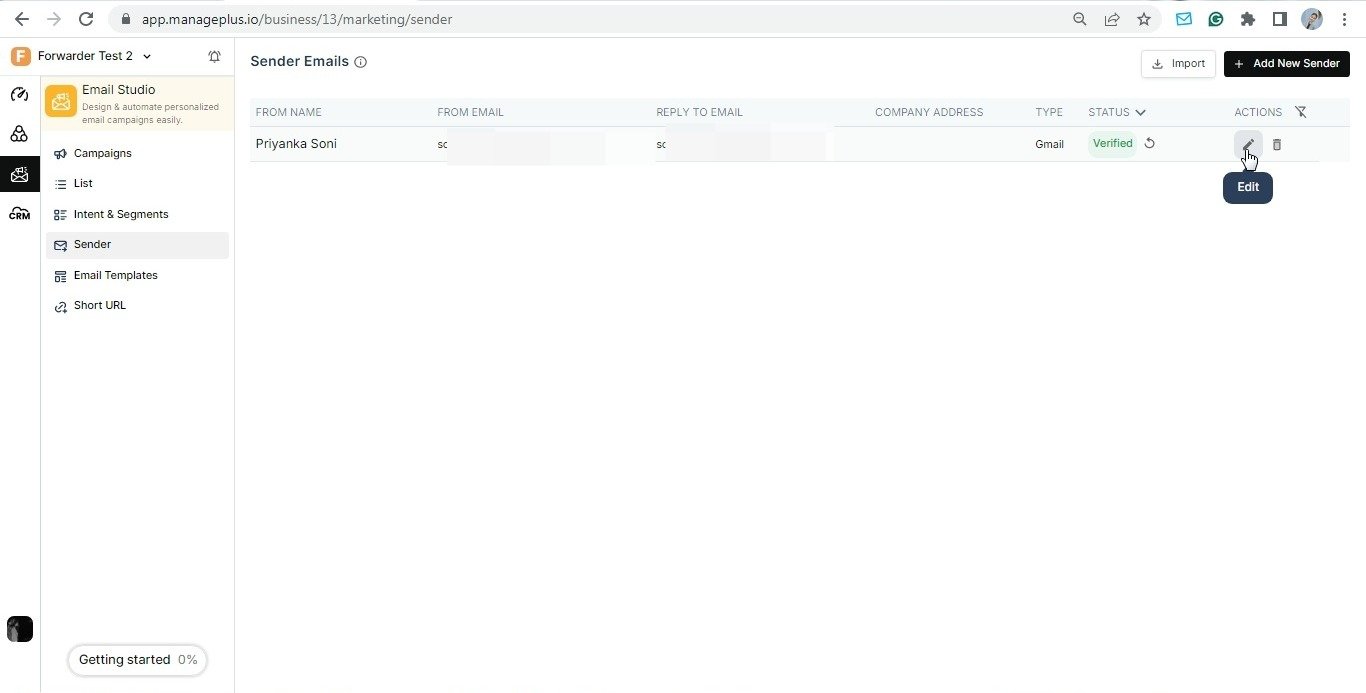
1. Log in to your ManagePuls account and click on the "Edit" option next to the email sender.
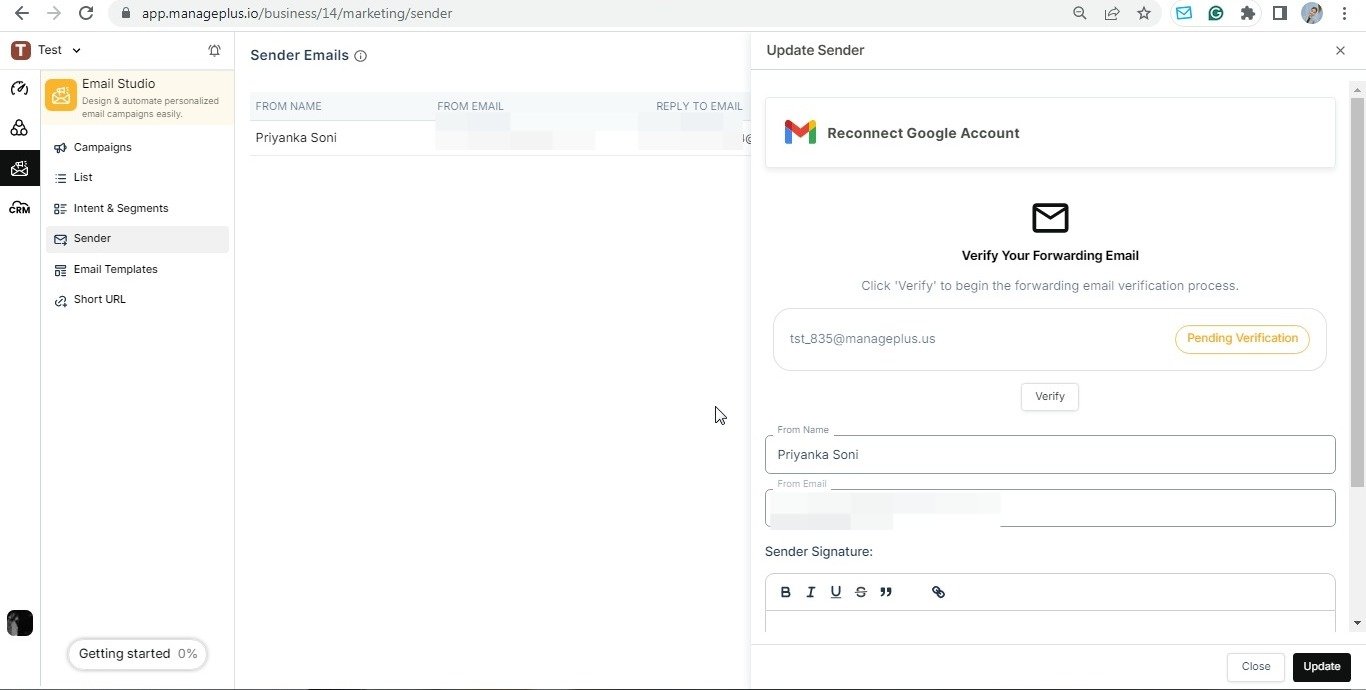
2. Copy the "Forwarding Address" provided.
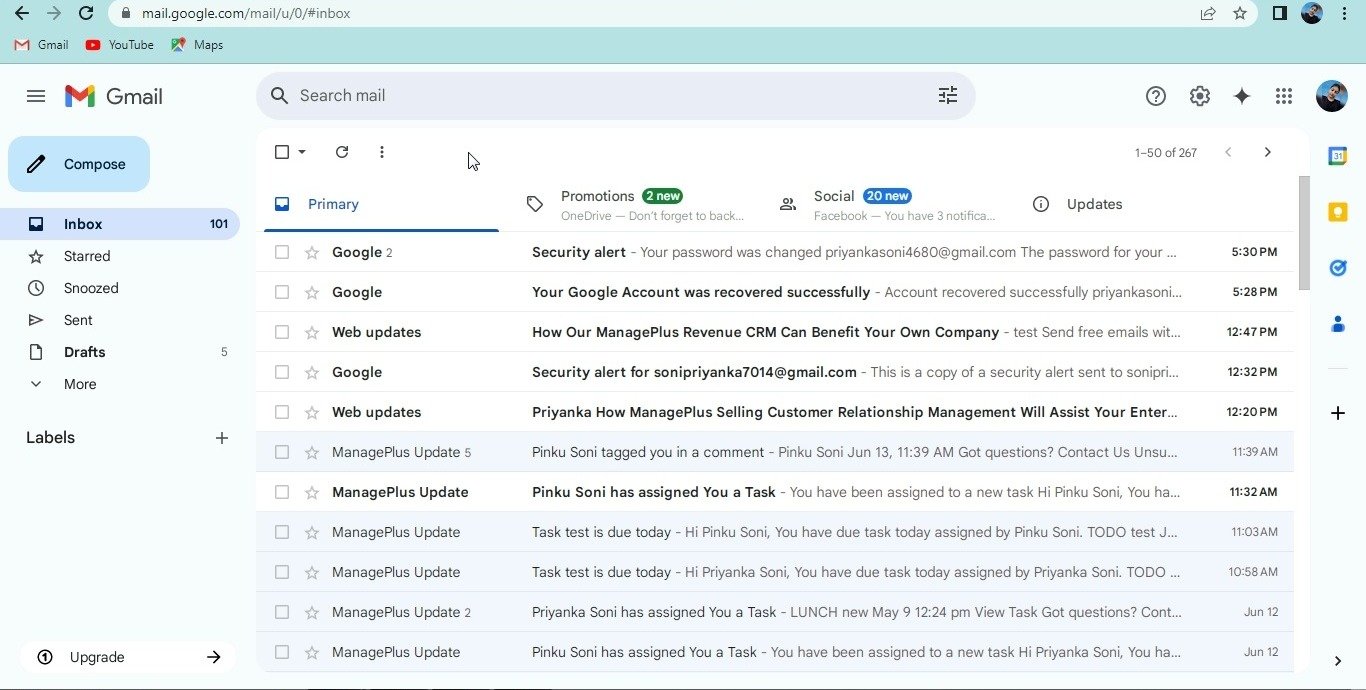
3. Open a new tab and sign in to your "Gmail account".
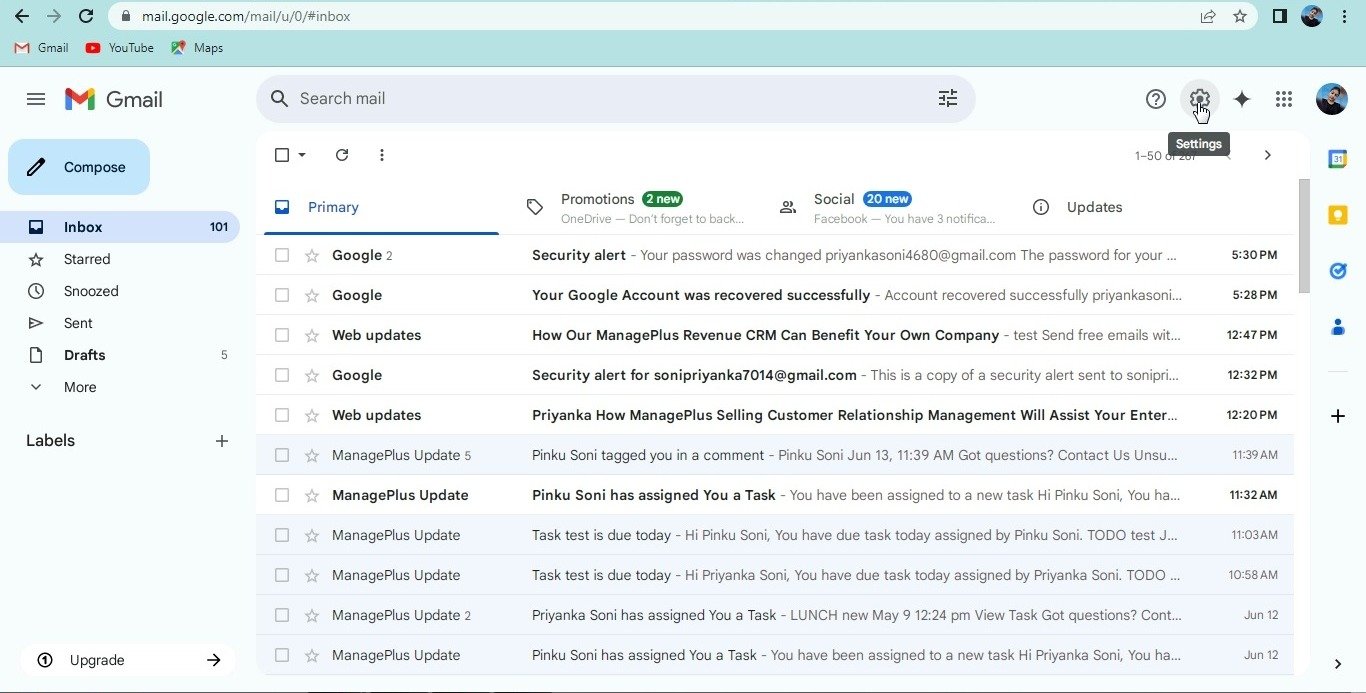
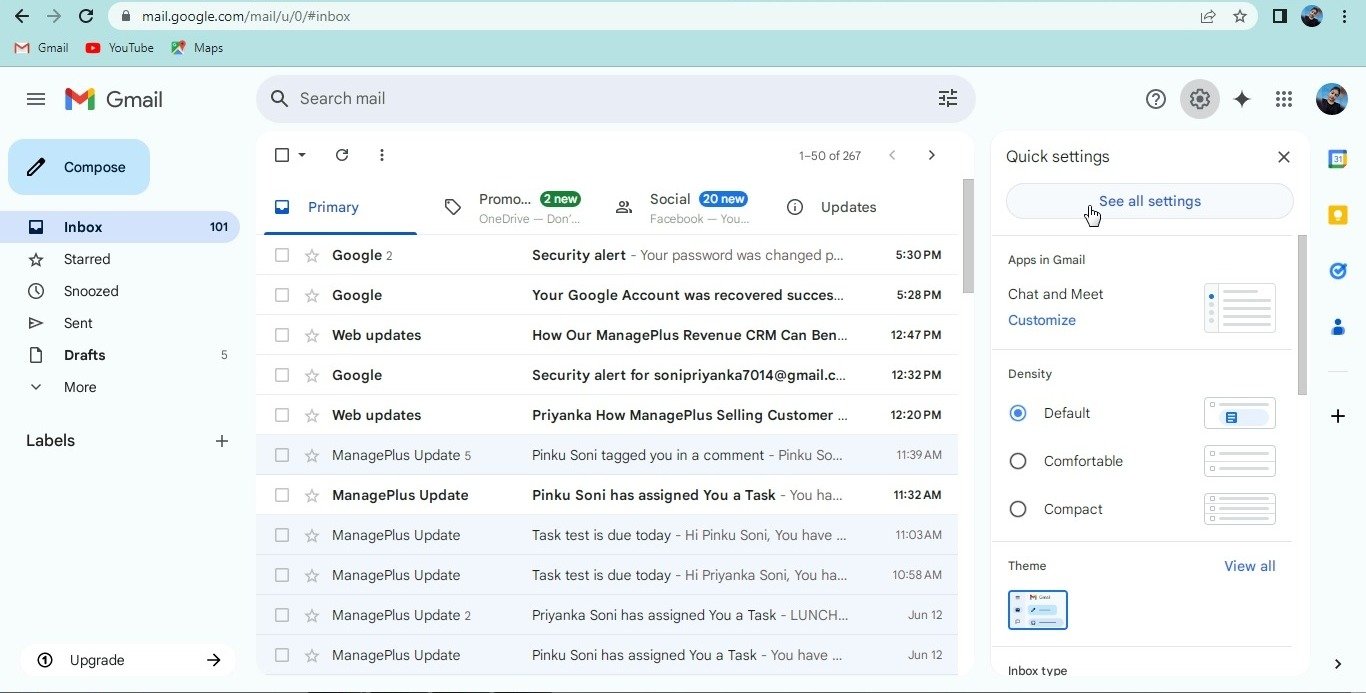
4. Click on the "Settings (icon)" in the top-right corner.
5. Select "See all settings" from the dropdown menu.
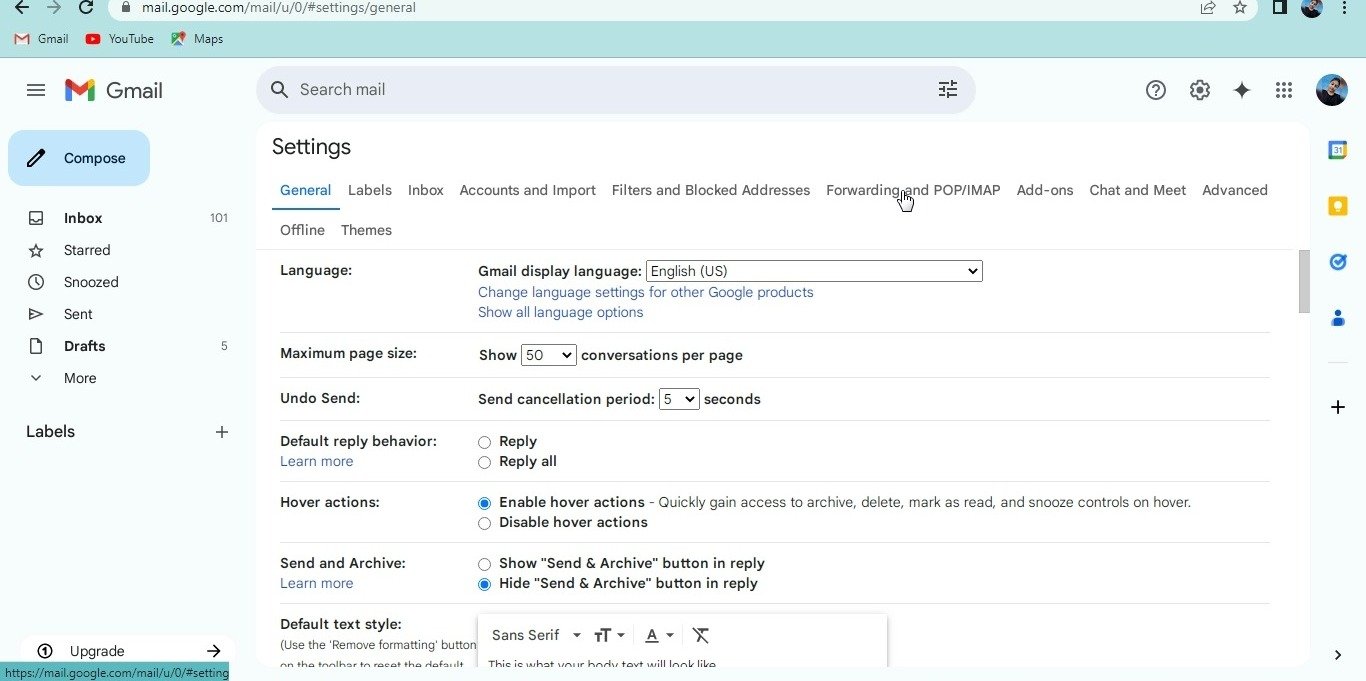
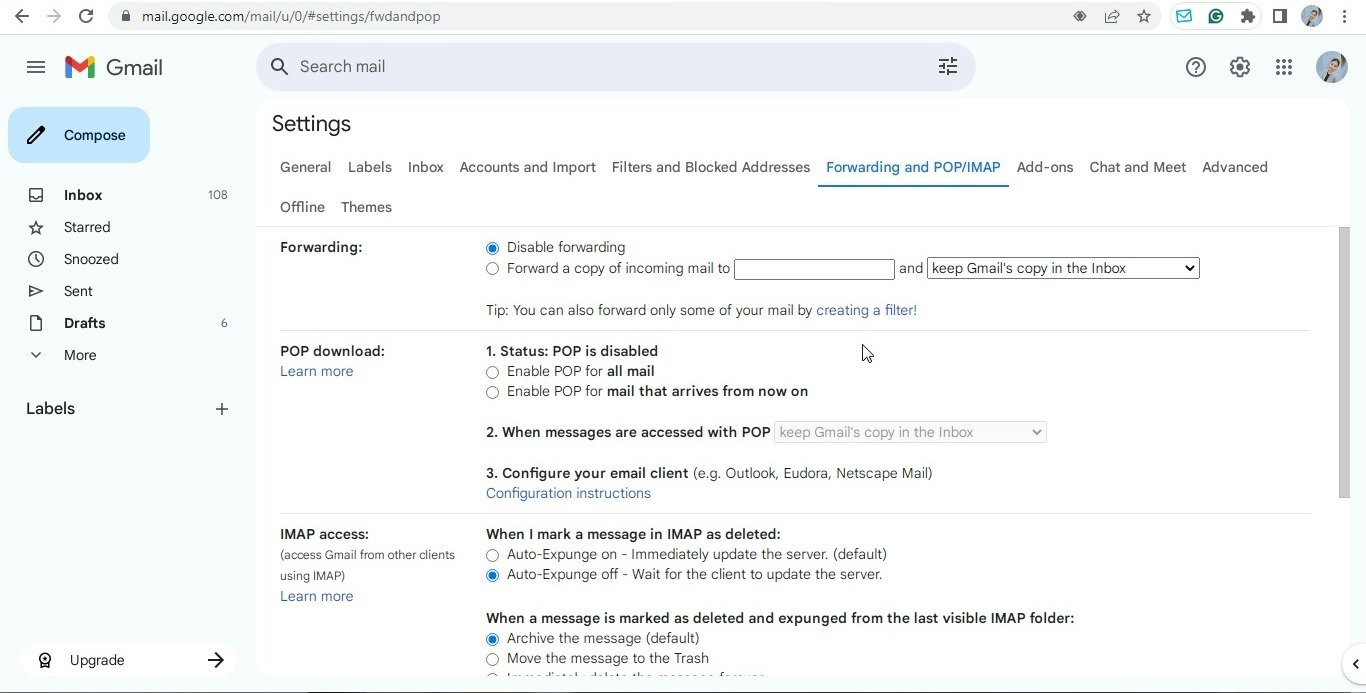
6. Navigate to the "Forwarding and POP/IMAP" tab.
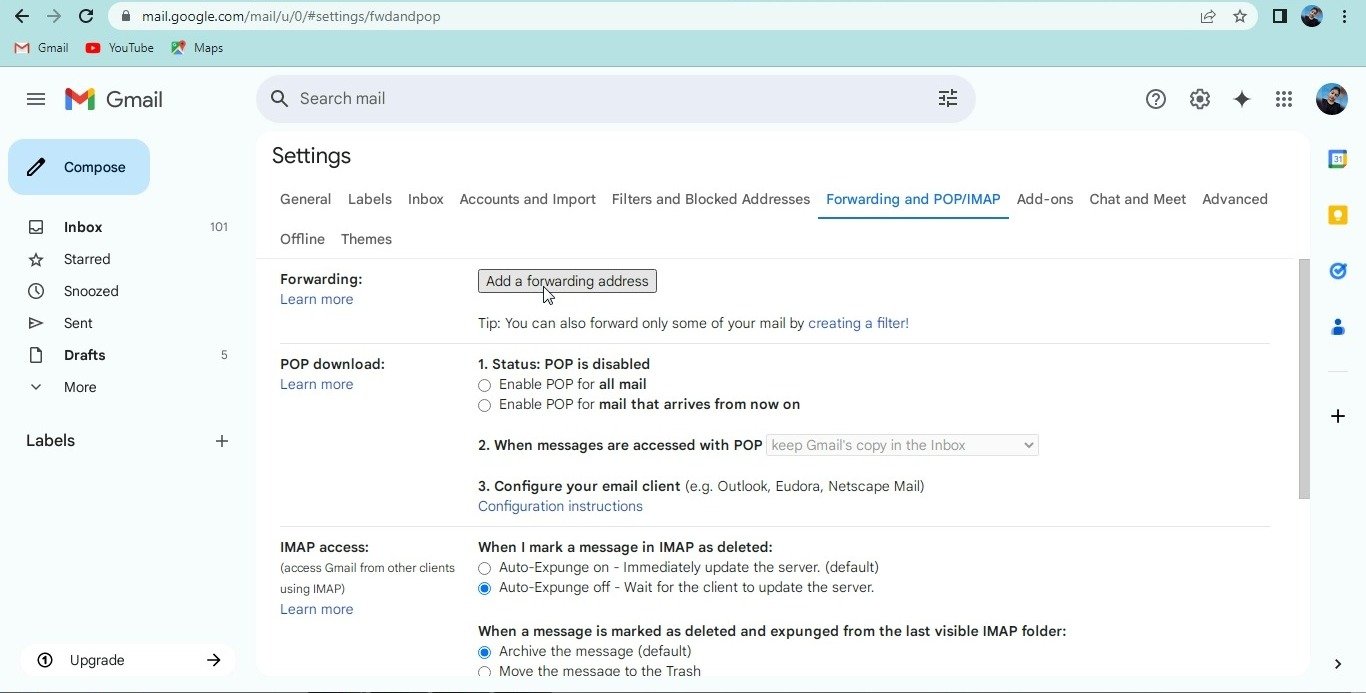
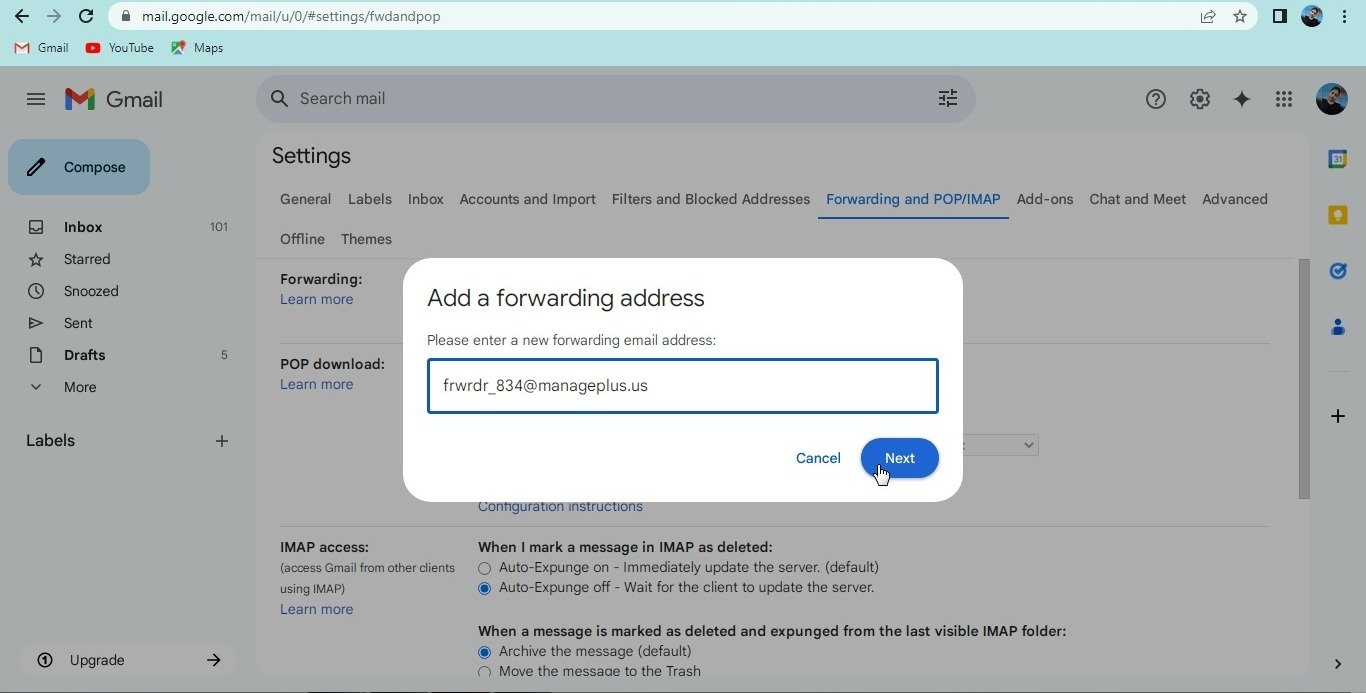
7. Click on "Add a forwarding address".
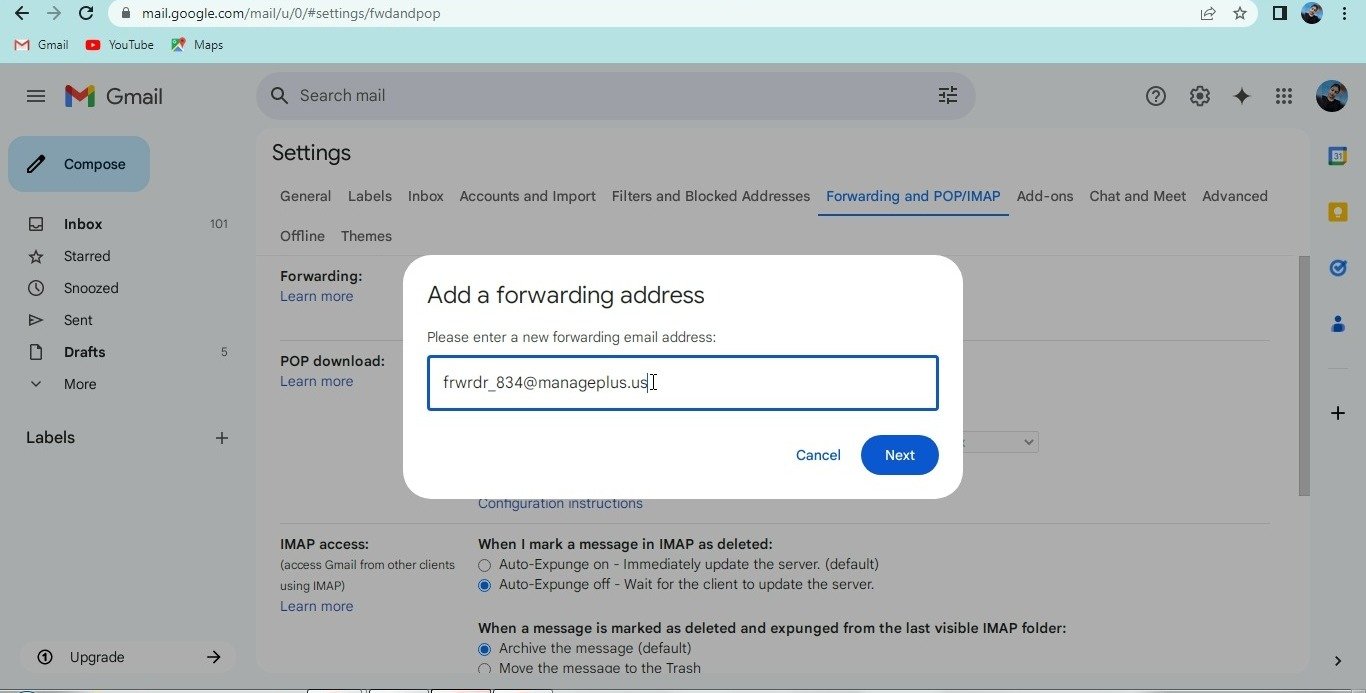
8. Paste the copied forwarding address into the input field.
9. Click the "Next" button.
10. A Google sign-in popup will appear; follow the instructions to "match the number" as prompted.
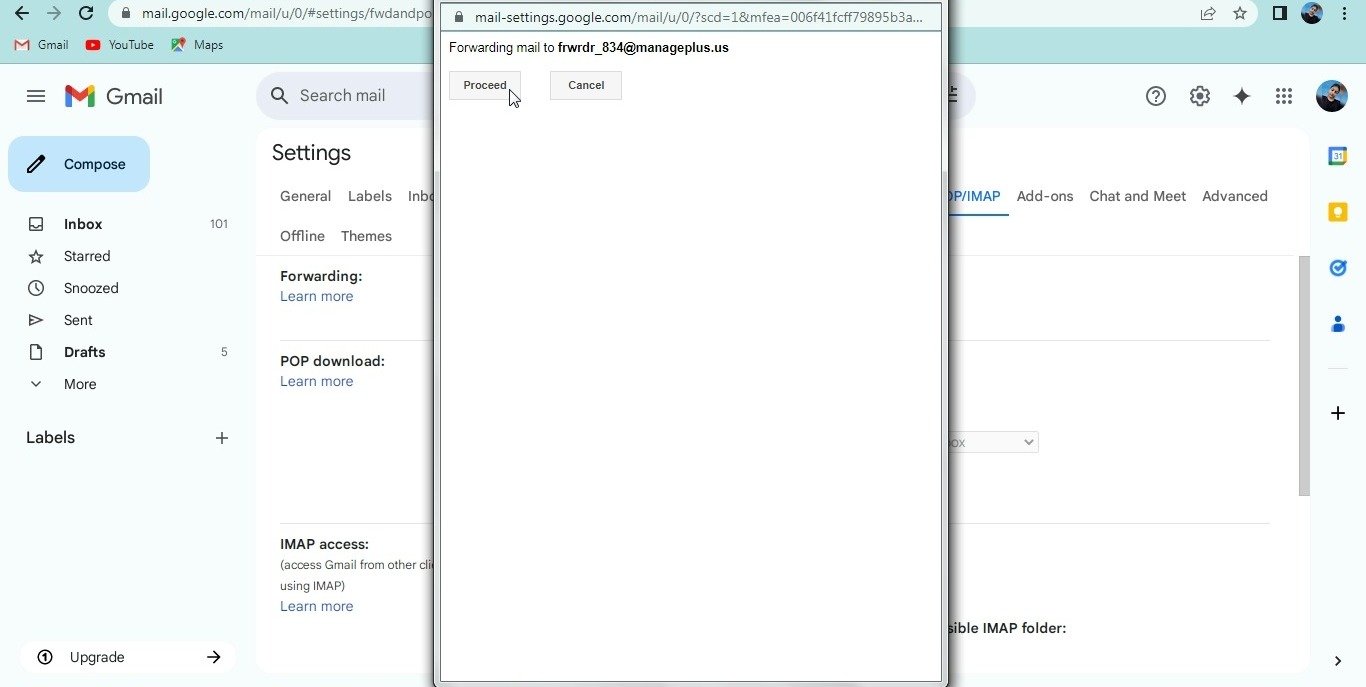
11. Click on the "Proceed" button.
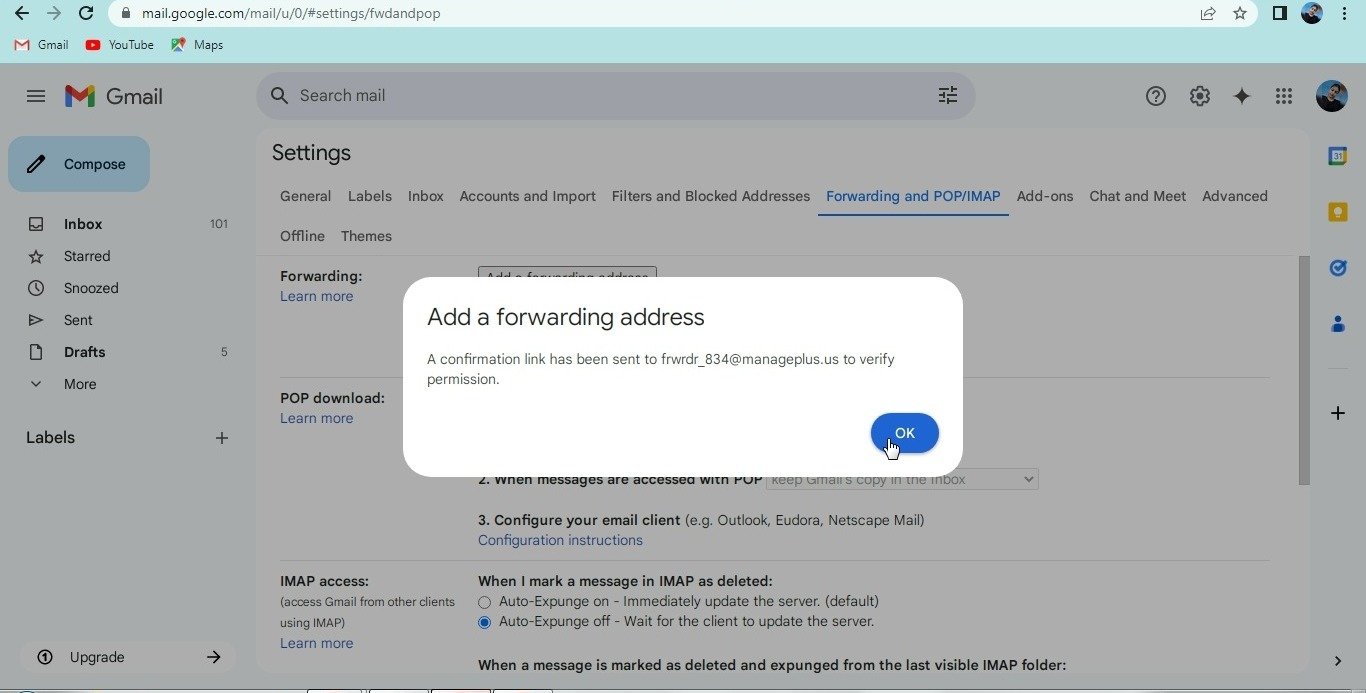
12. Then click "OK" to confirm.
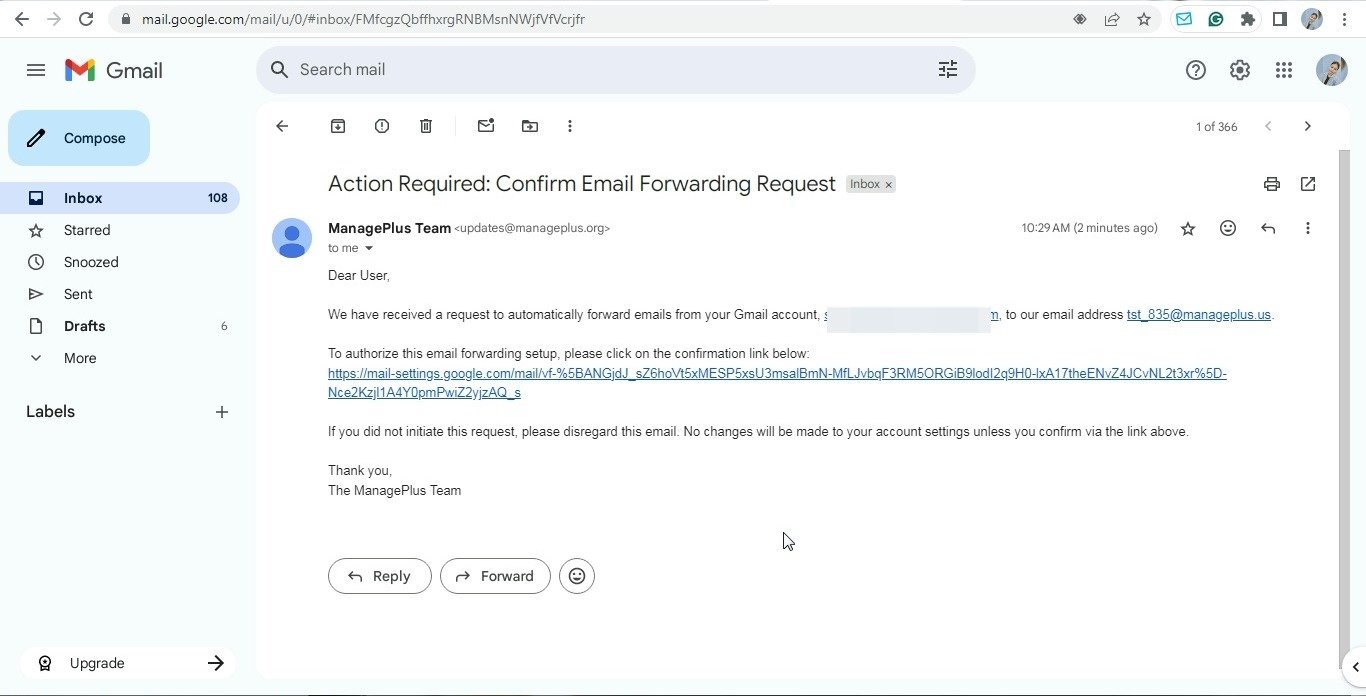
13. Go back to your Gmail inbox.
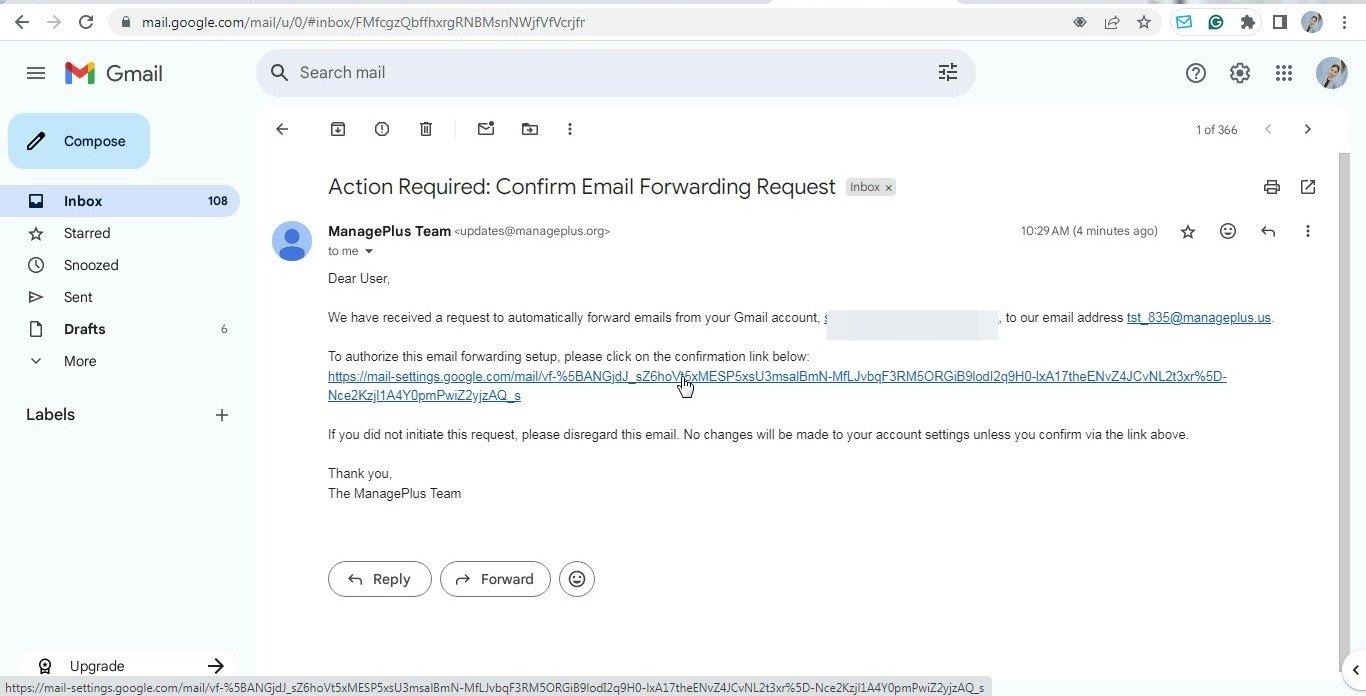
14. Open the email titled "Action required: Confirm email forwarding request".
15. Click on the confirmation "URL link" inside the email.
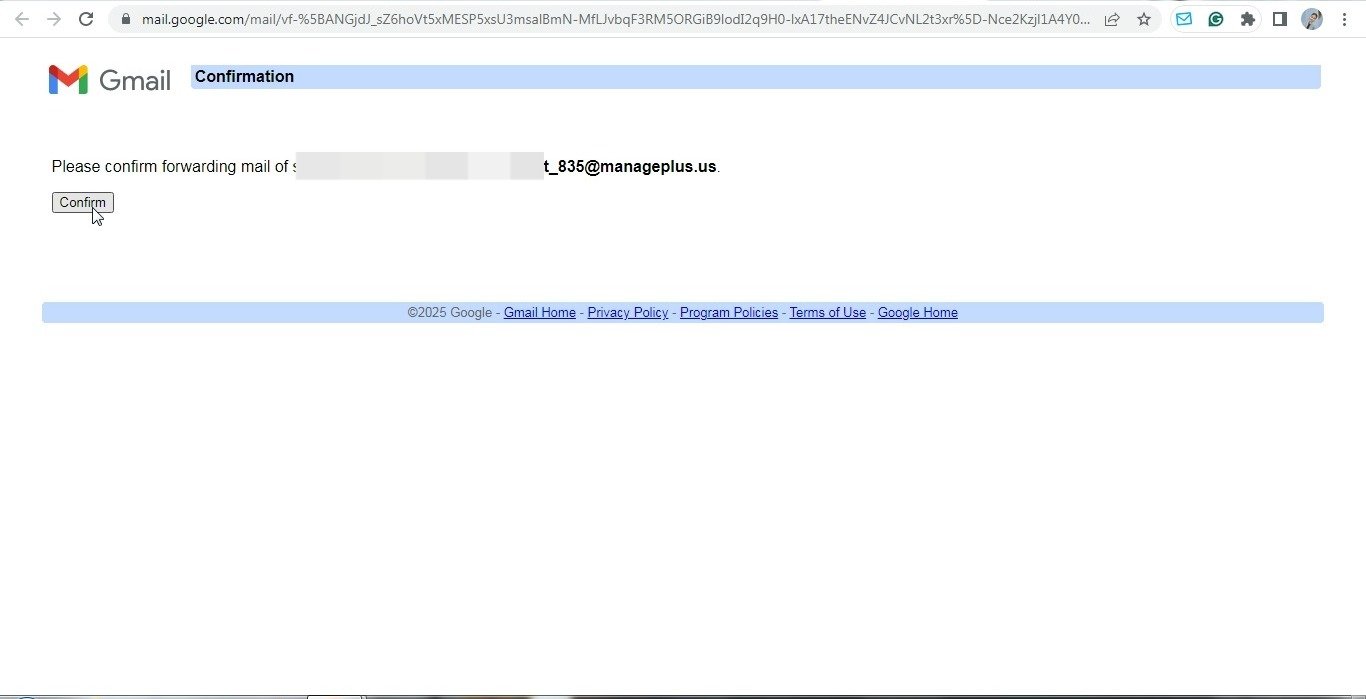
16. On the opened page, click the "Confirm" button.
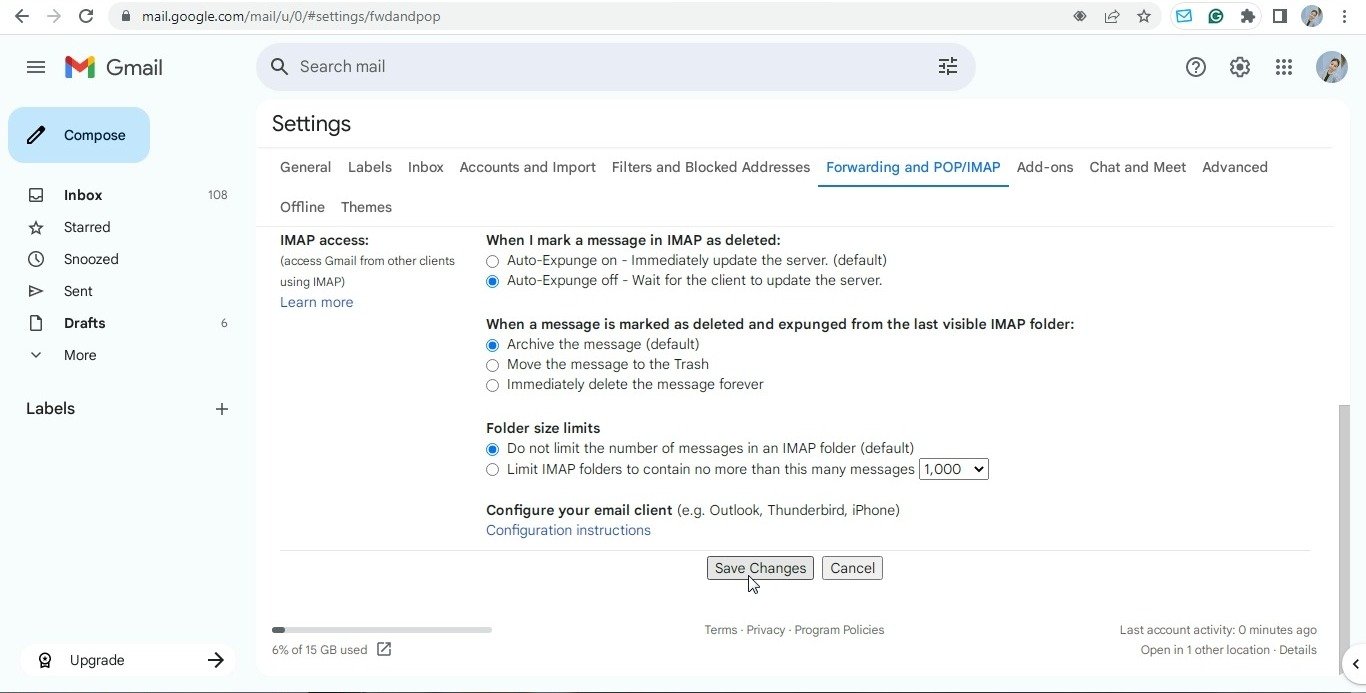
17. Return to the "Forwarding and POP/IMAP" settings page in Gmail and "refresh" the page.
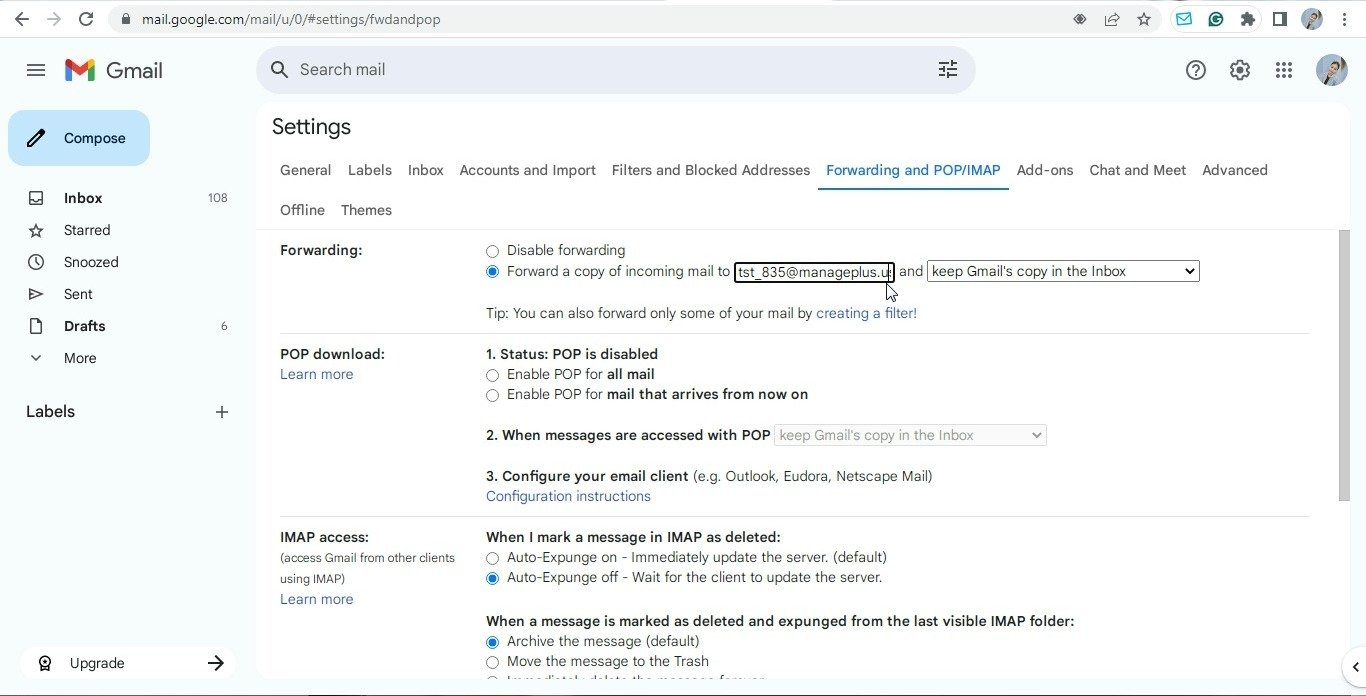
18. Ensure the forwarding address is entered correctly in the field.
19. Click on "Save Changes".
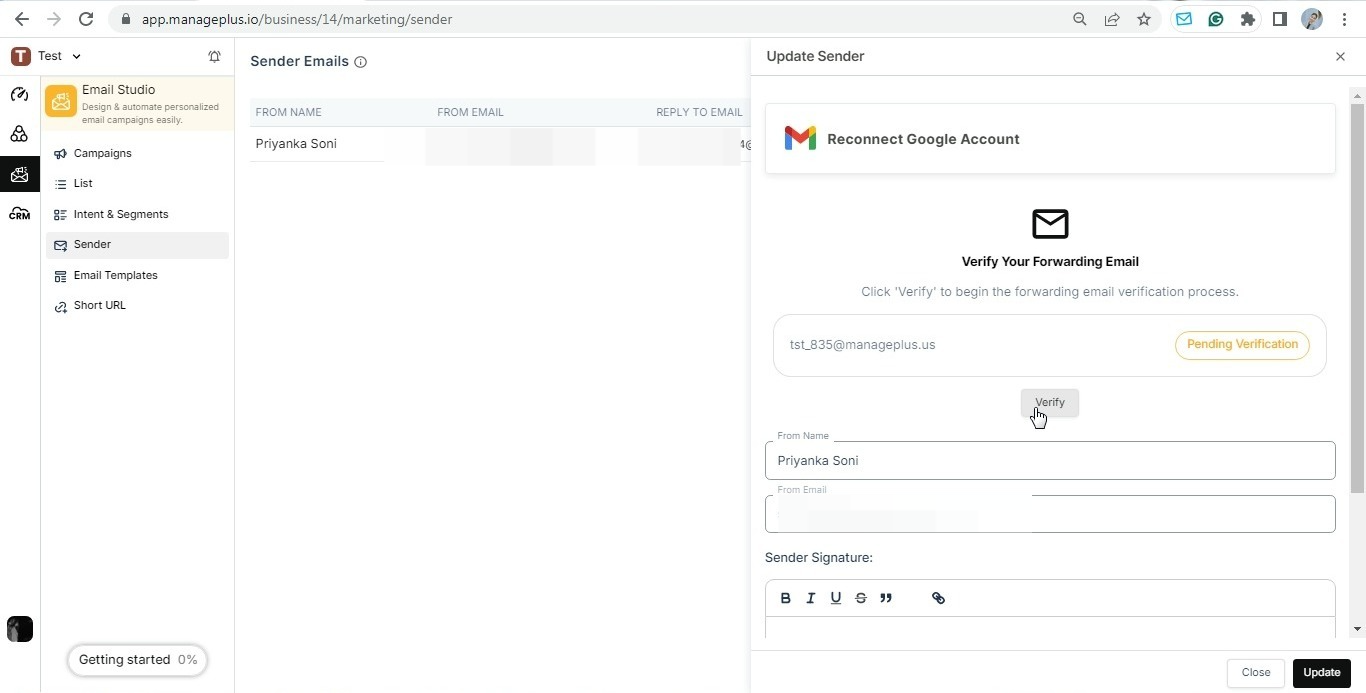
20. Go back to "ManagePuls" and open the relevant email sender.
21. Click on the "Verify" button.
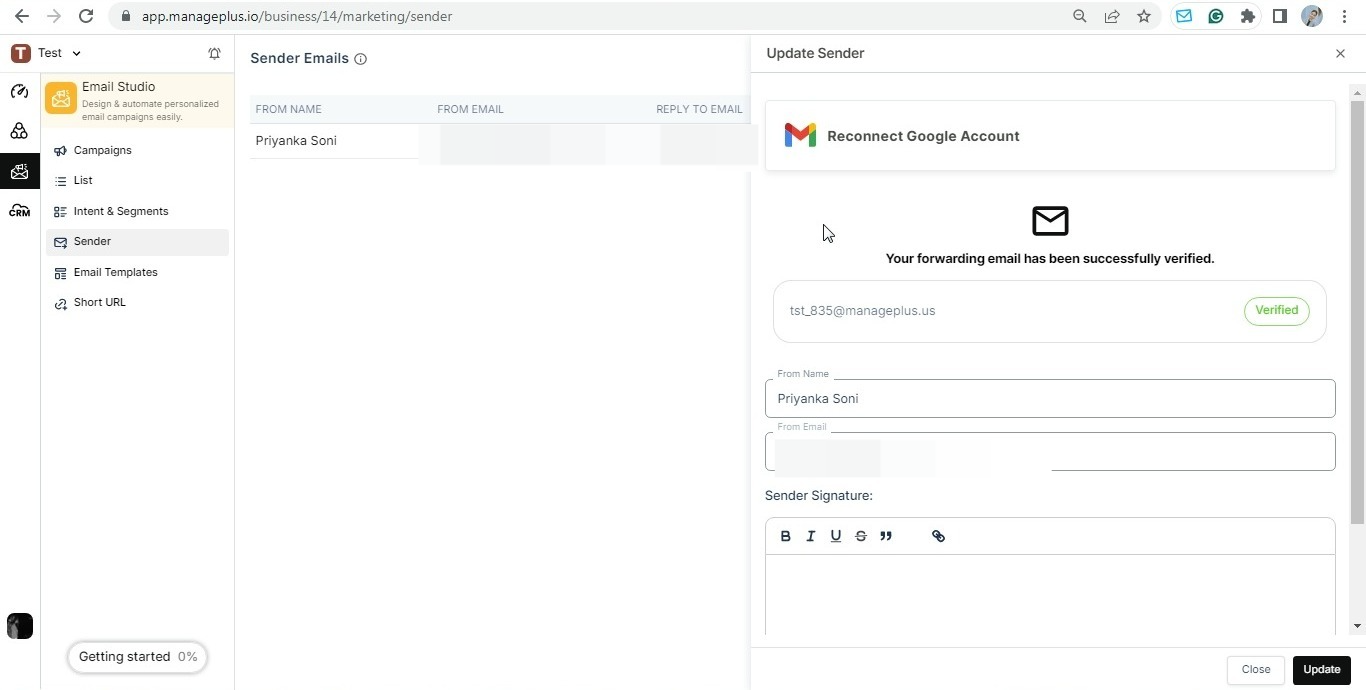
22. The forwarding email address will now be successfully verified.