
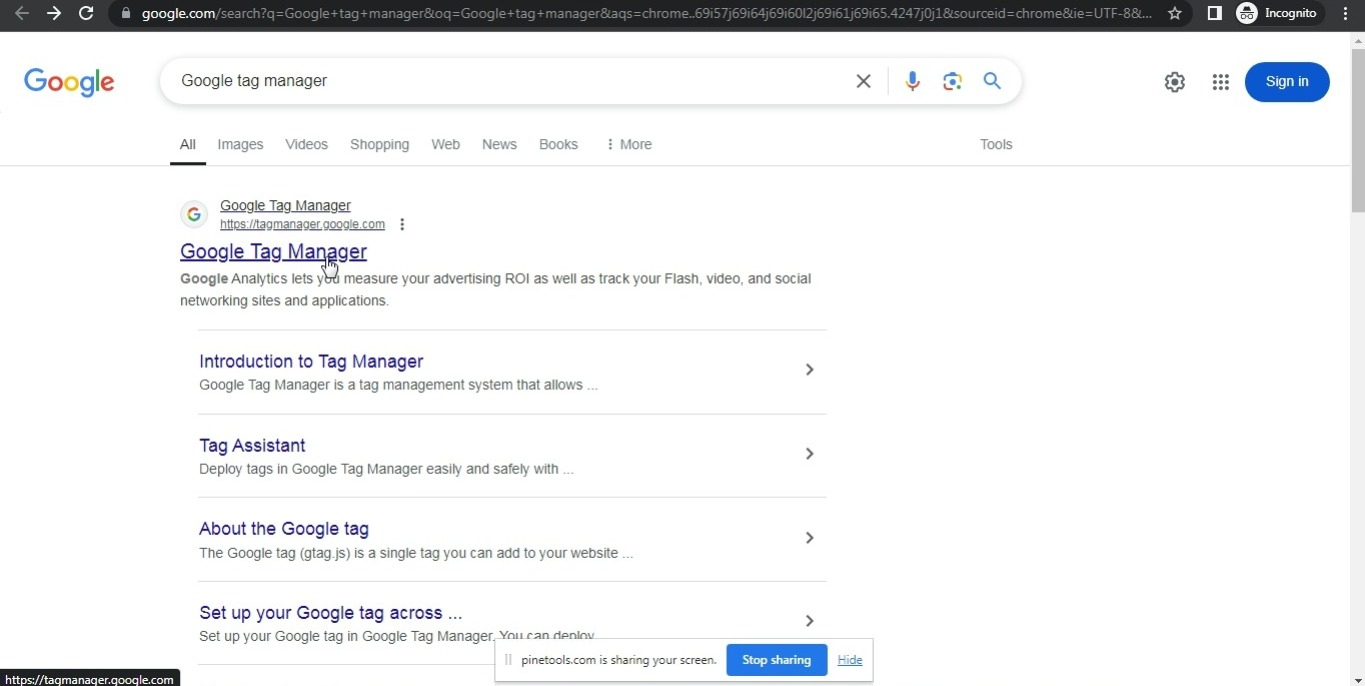


Step- 1.Go to “Google Tag Manager”.
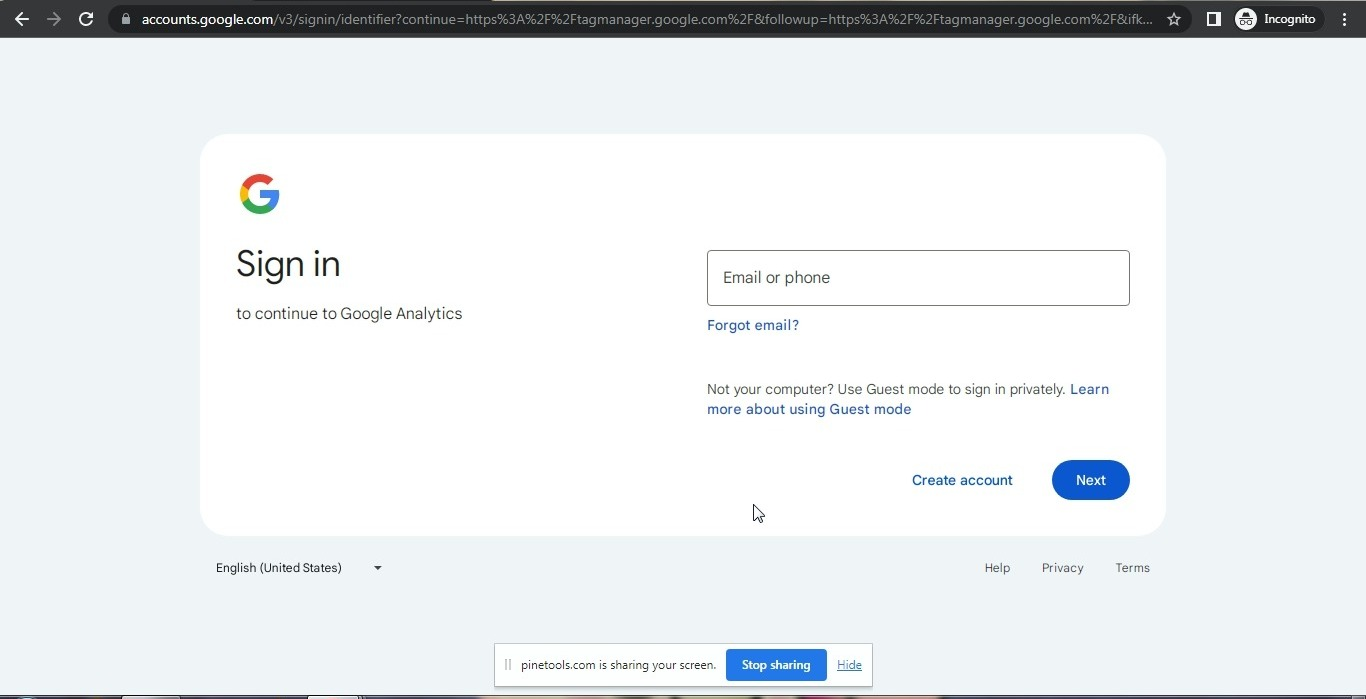
Step- 2.The “Google Sign-in” page will open.
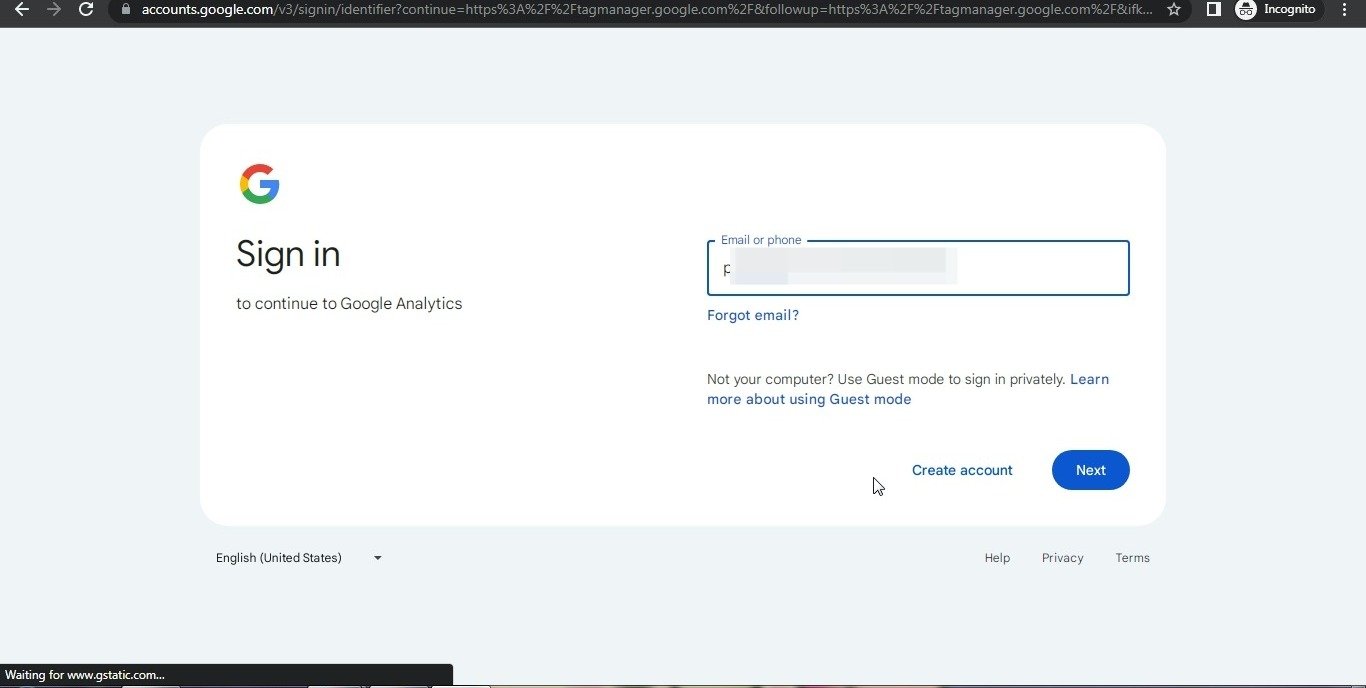
Step- 3.Enter your “email address” in the email field.
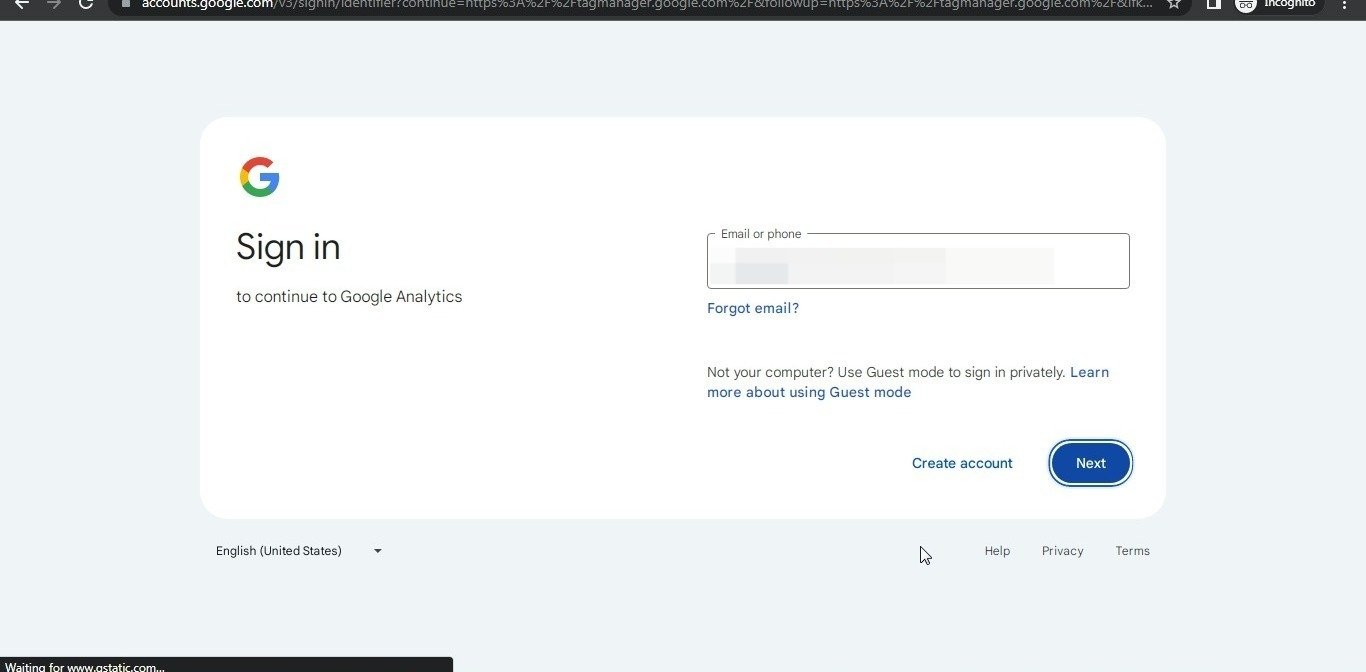
Step-4.Click the “Next” button.
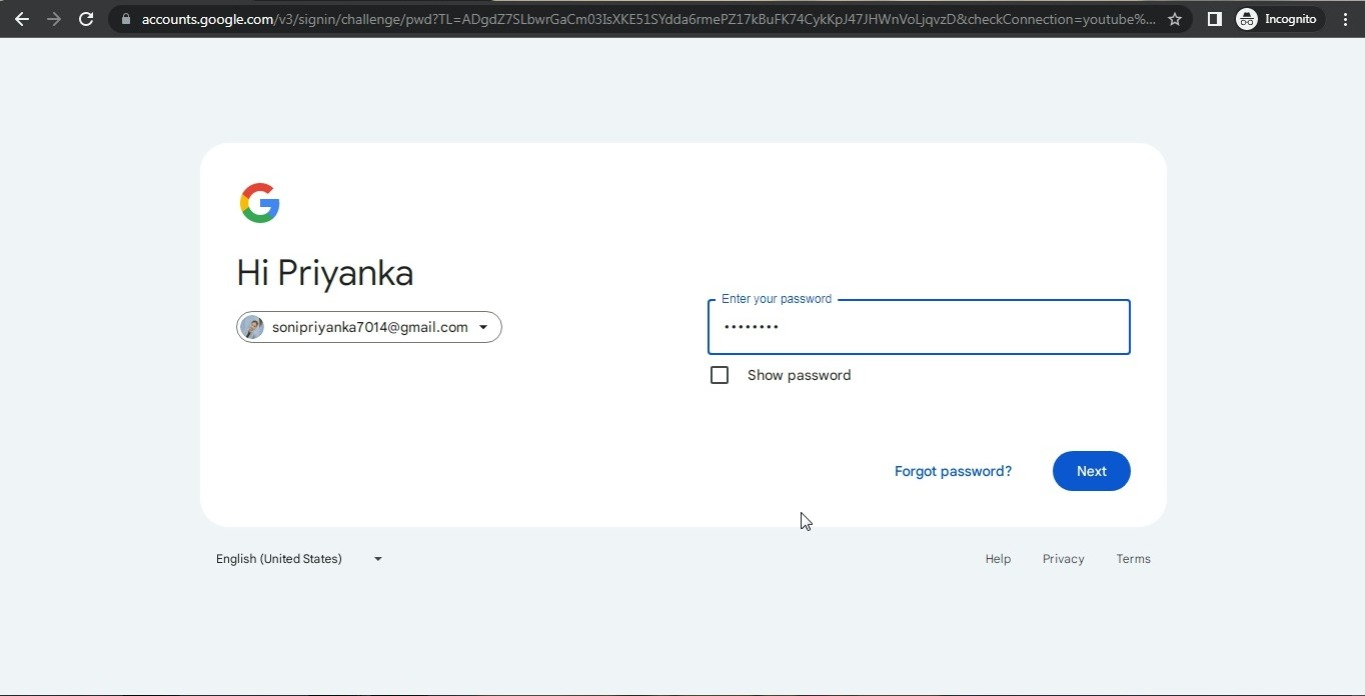
Step- 5.Enter your “password” in the password field.
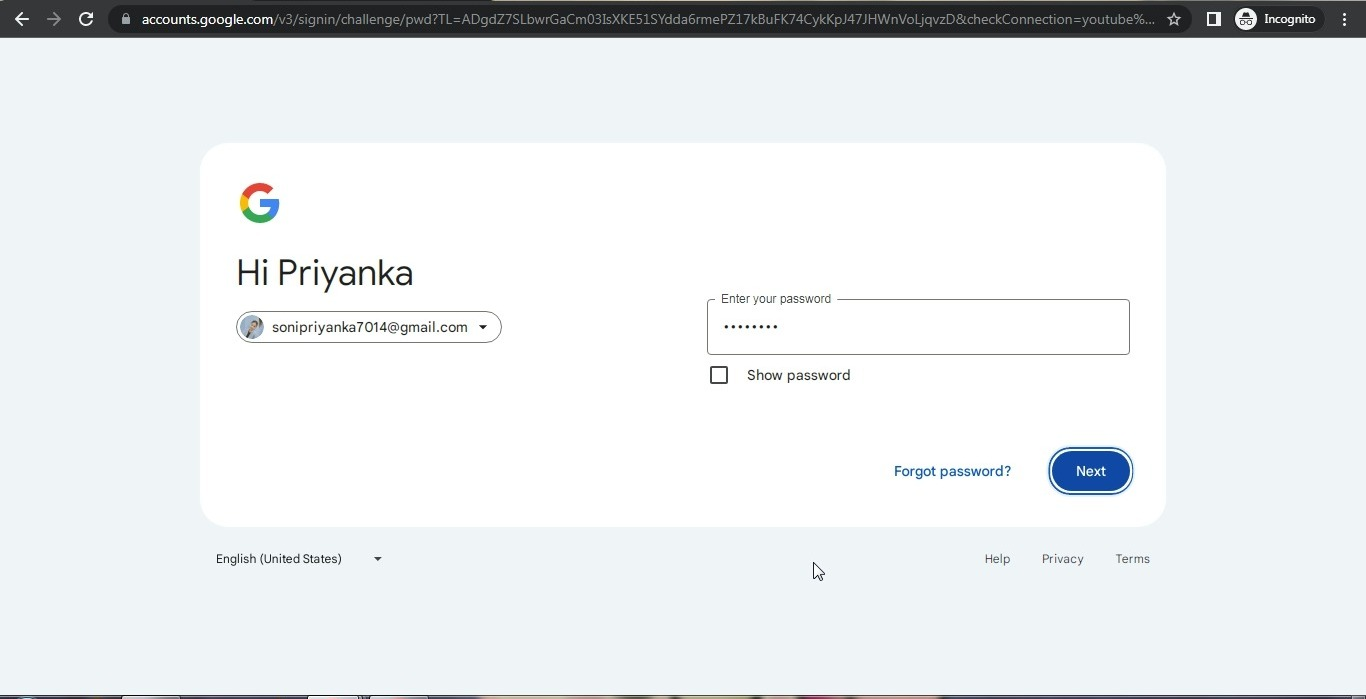
Step- 6.Click the “Next” button.
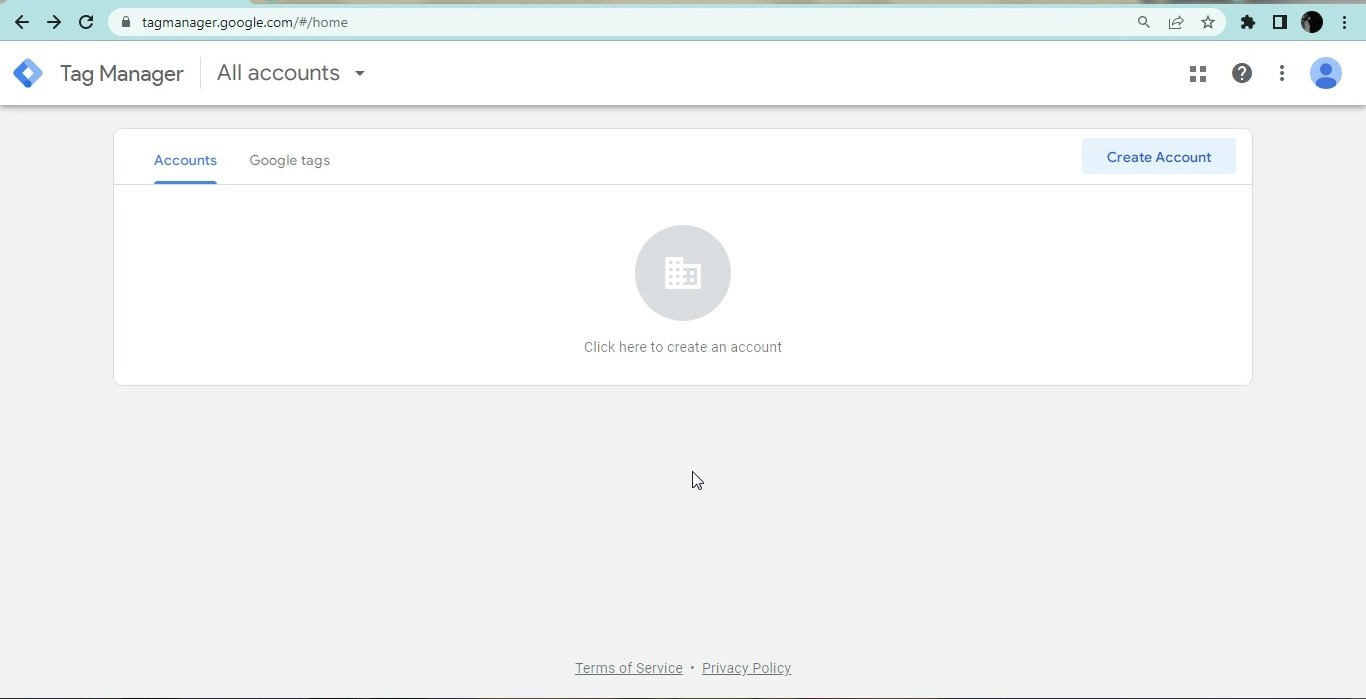
Step- 7.The “Google Tag Manager” page will open.
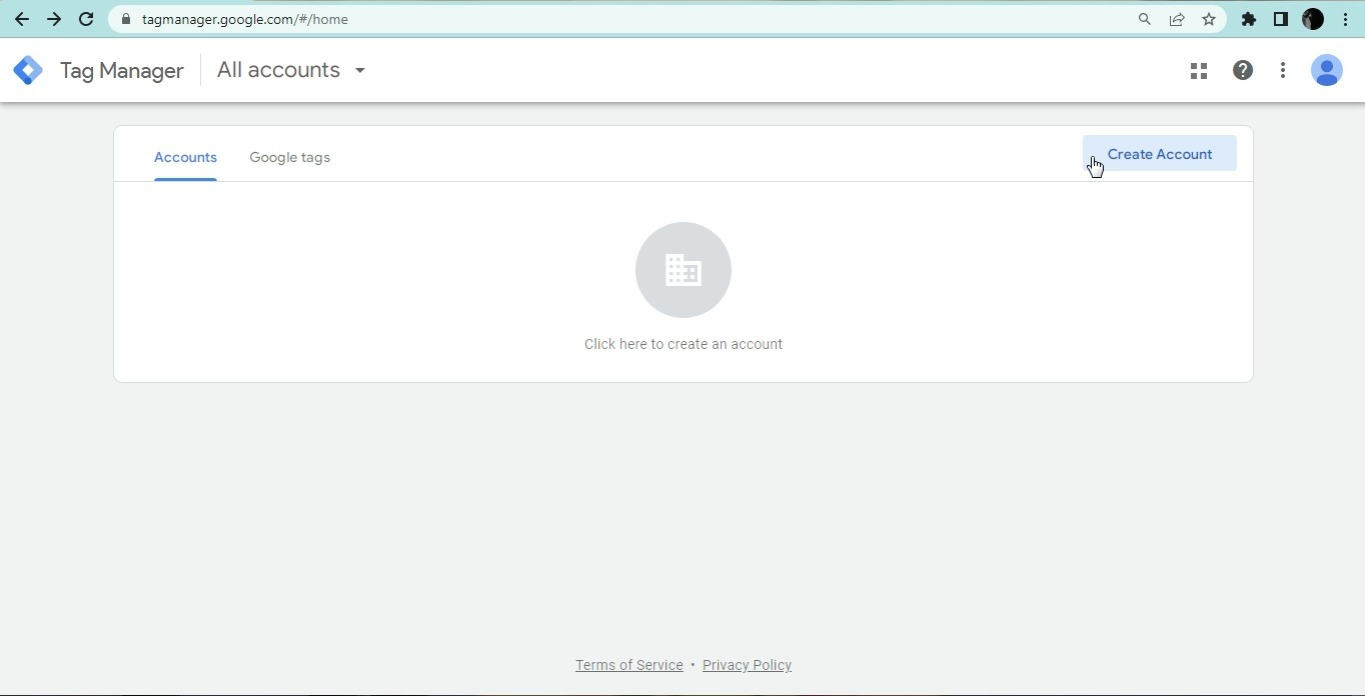
Step- 8.Click on “Create Account”.
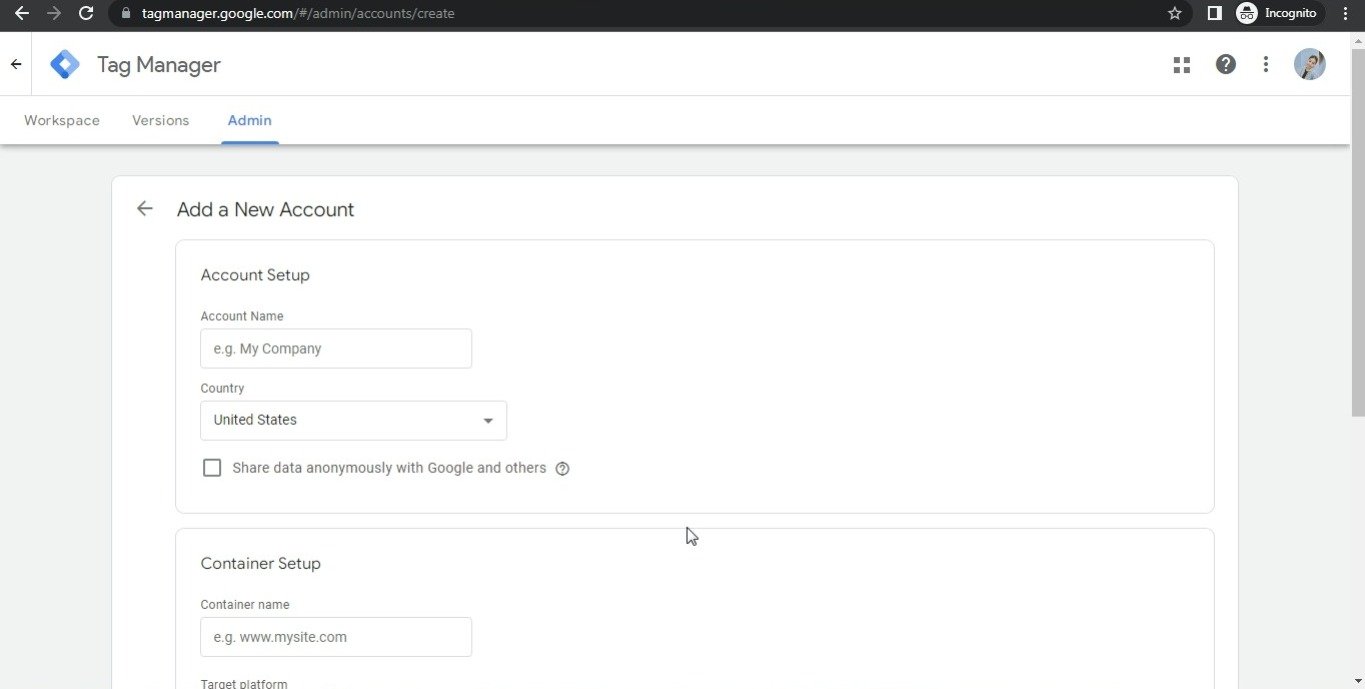
Step- 9.The “New Account” page will open.
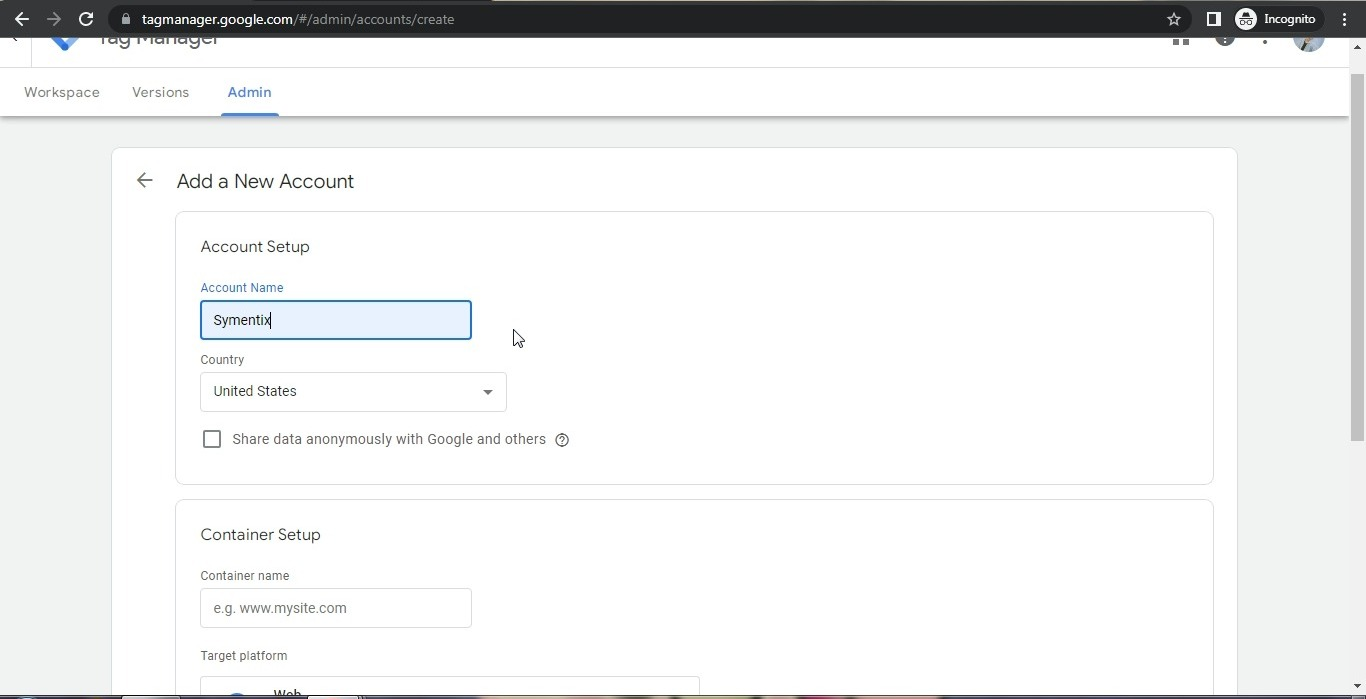
Step- 10.Enter the “account name” in the Account Name field.
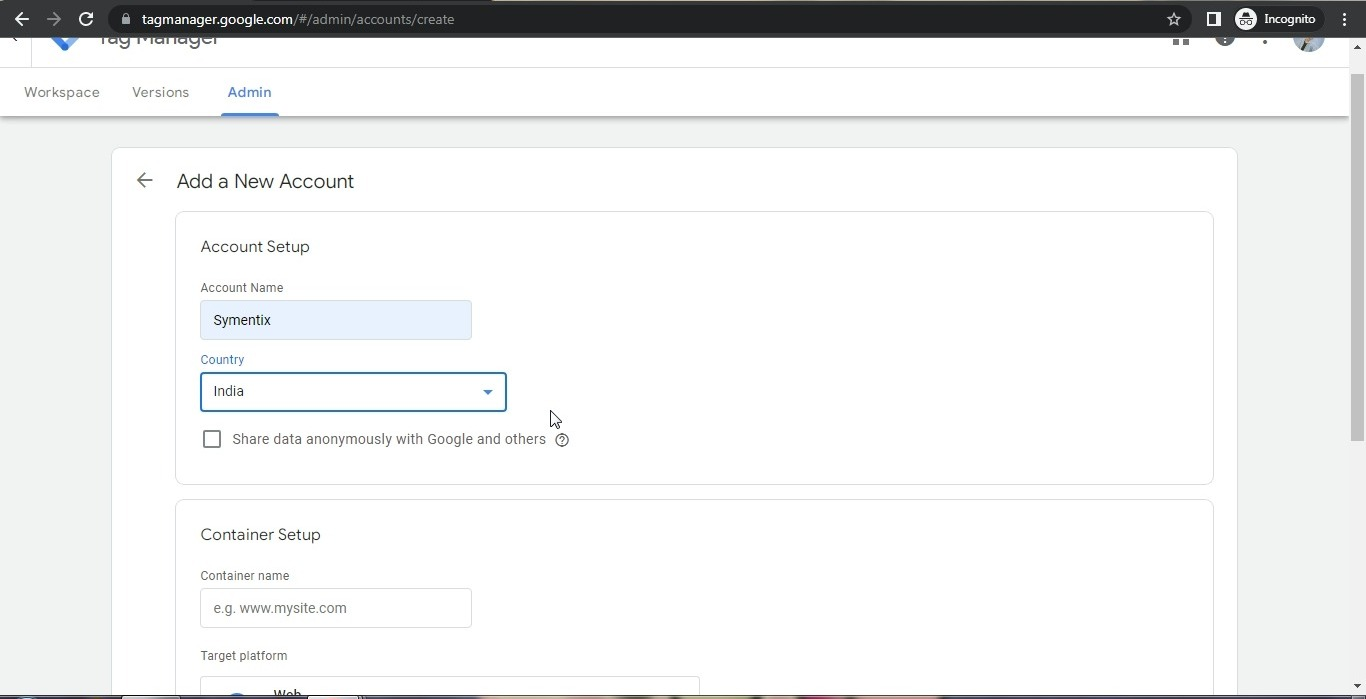
Step- 11.Select your “country” from the Country field.
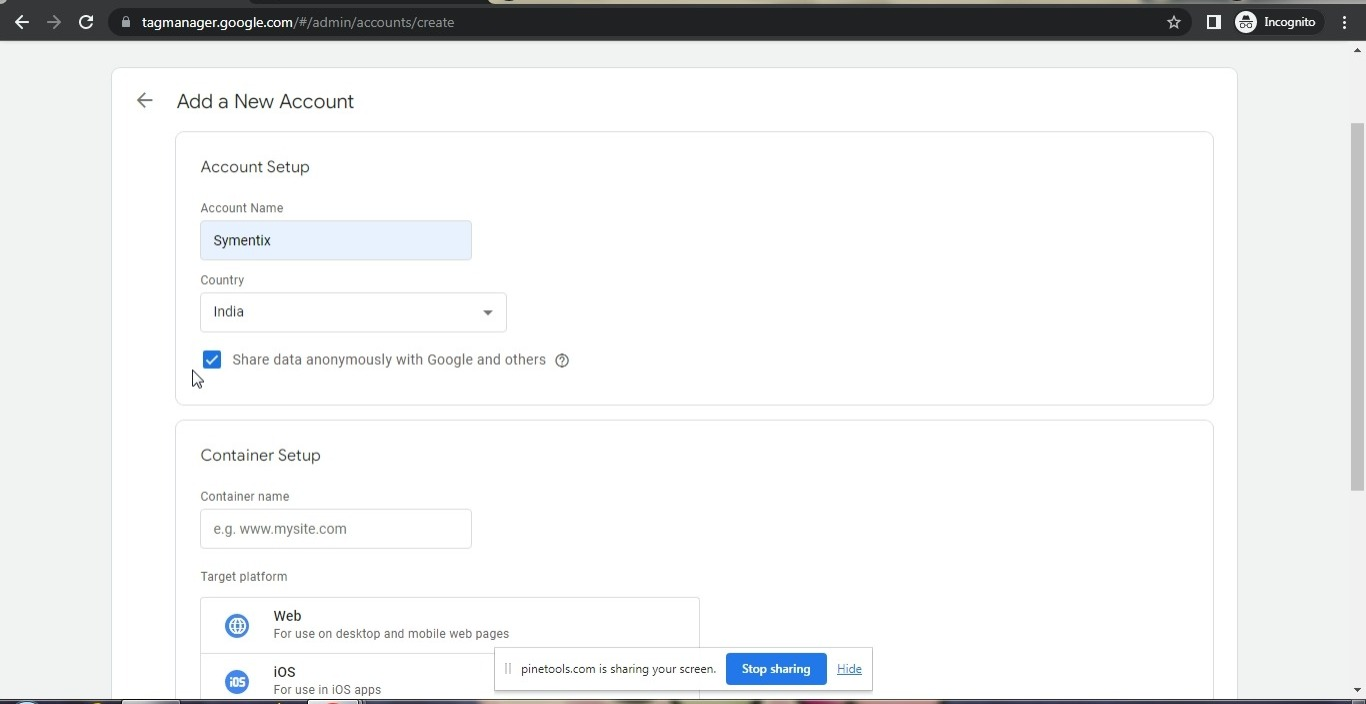
Step- 12. “Check the checkbox” to agree to terms.
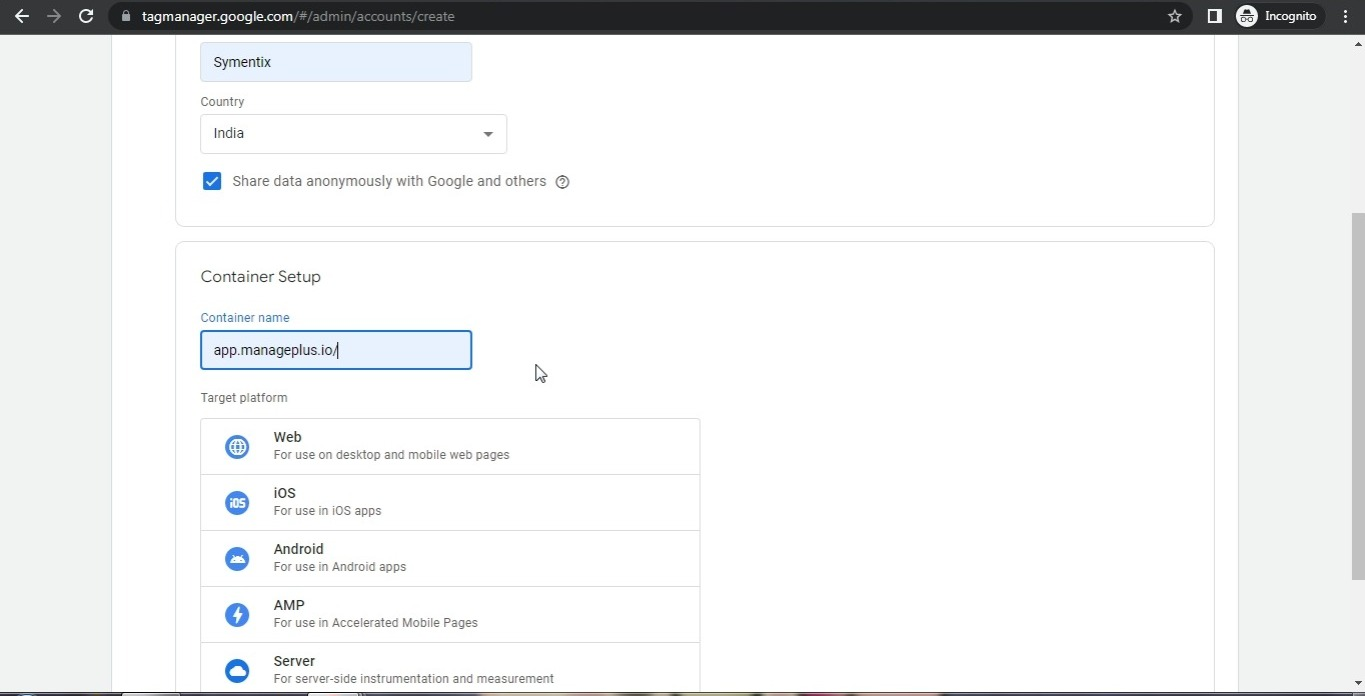
Step- 13.Enter the “container name” in the Container Name field.
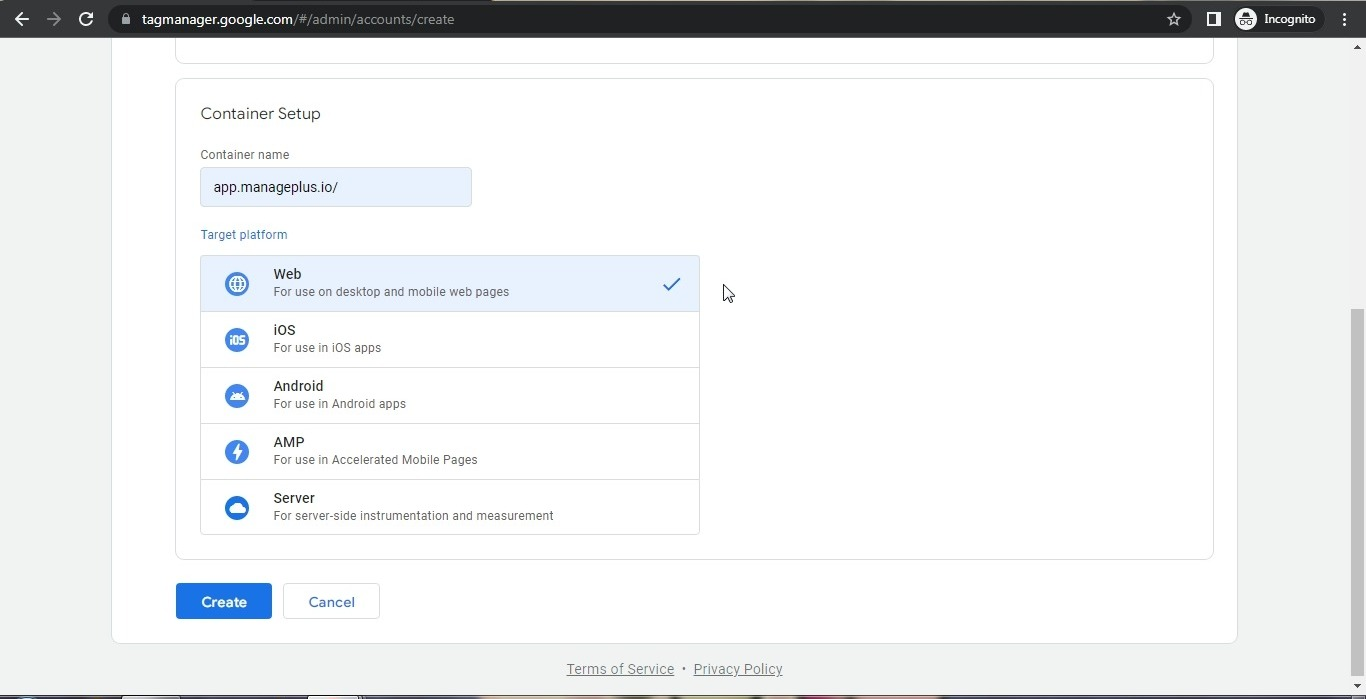
Step- 14.Select an option from the “Target Platform” list.
Step- 15.Click the “Create” button.
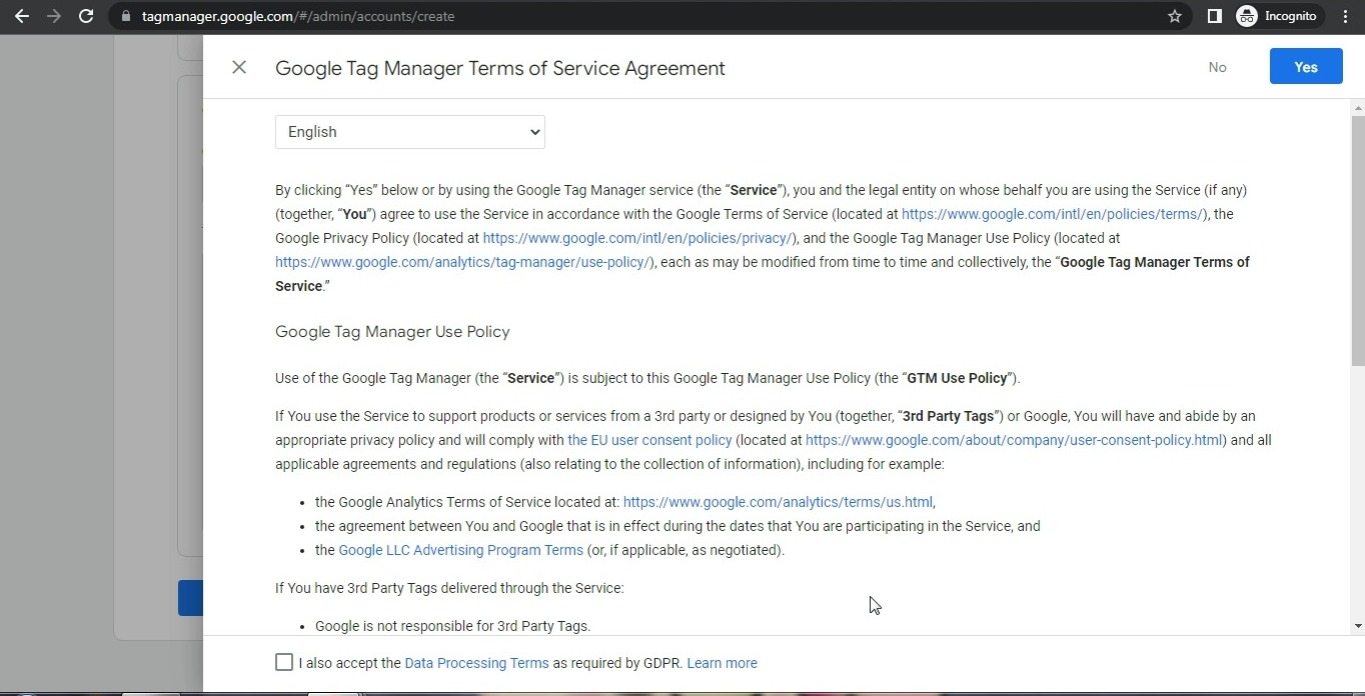
Step- 16.The “Terms of Service Agreement” page will open.
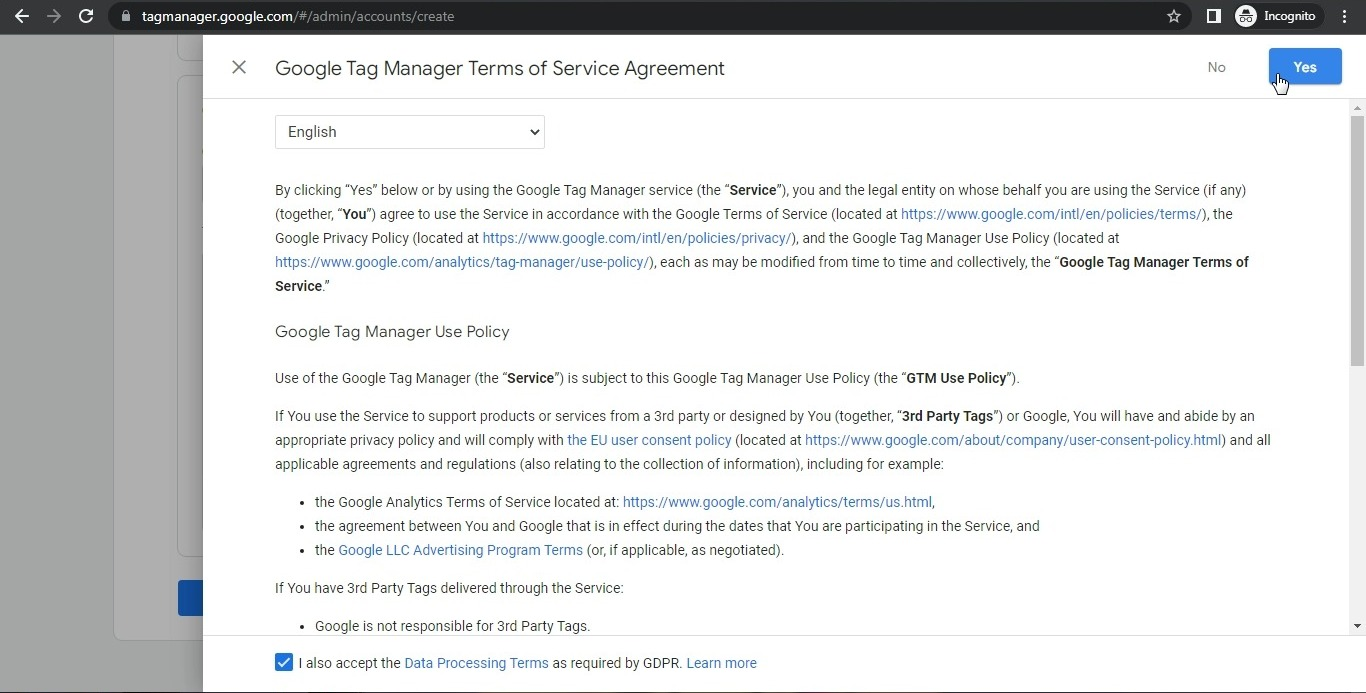
Step- 17.”Select the checkbox” to accept the terms.
Step- 18.Click the “Yes” button.
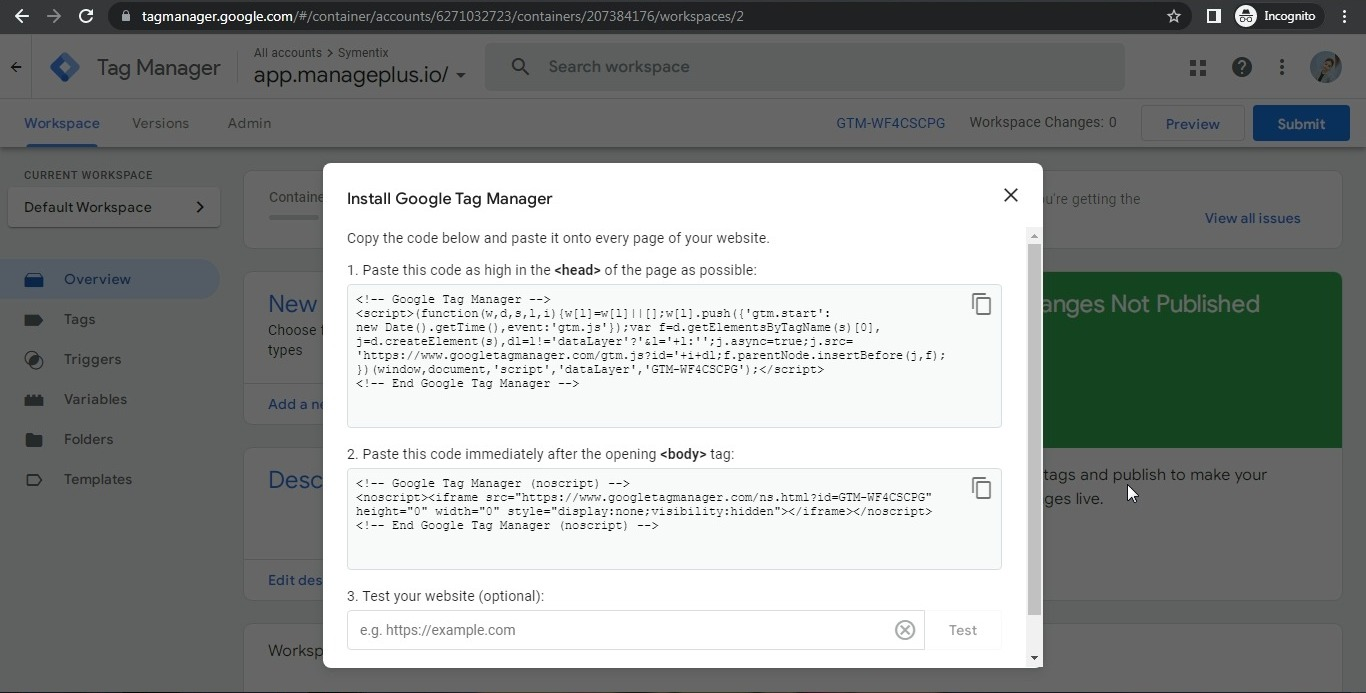
Step- 19.The “Tag Manager Code” page will open.
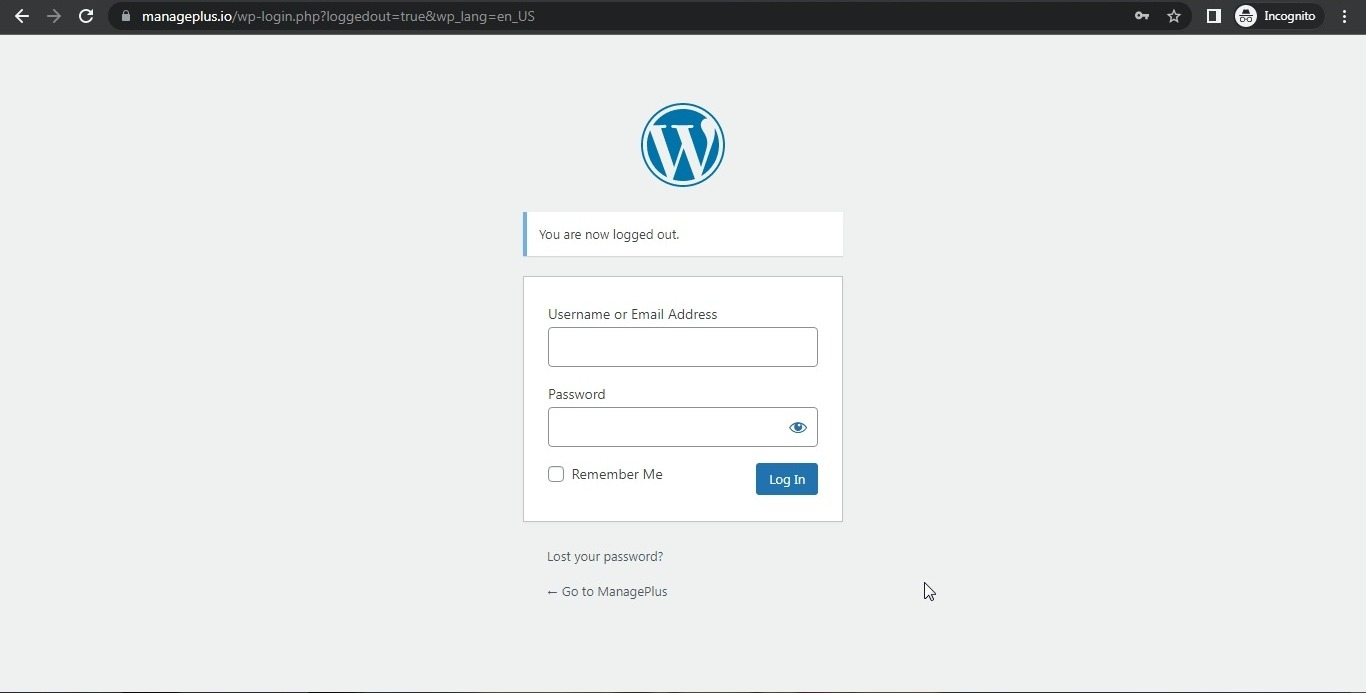
Step- 20.Go to your “website”.
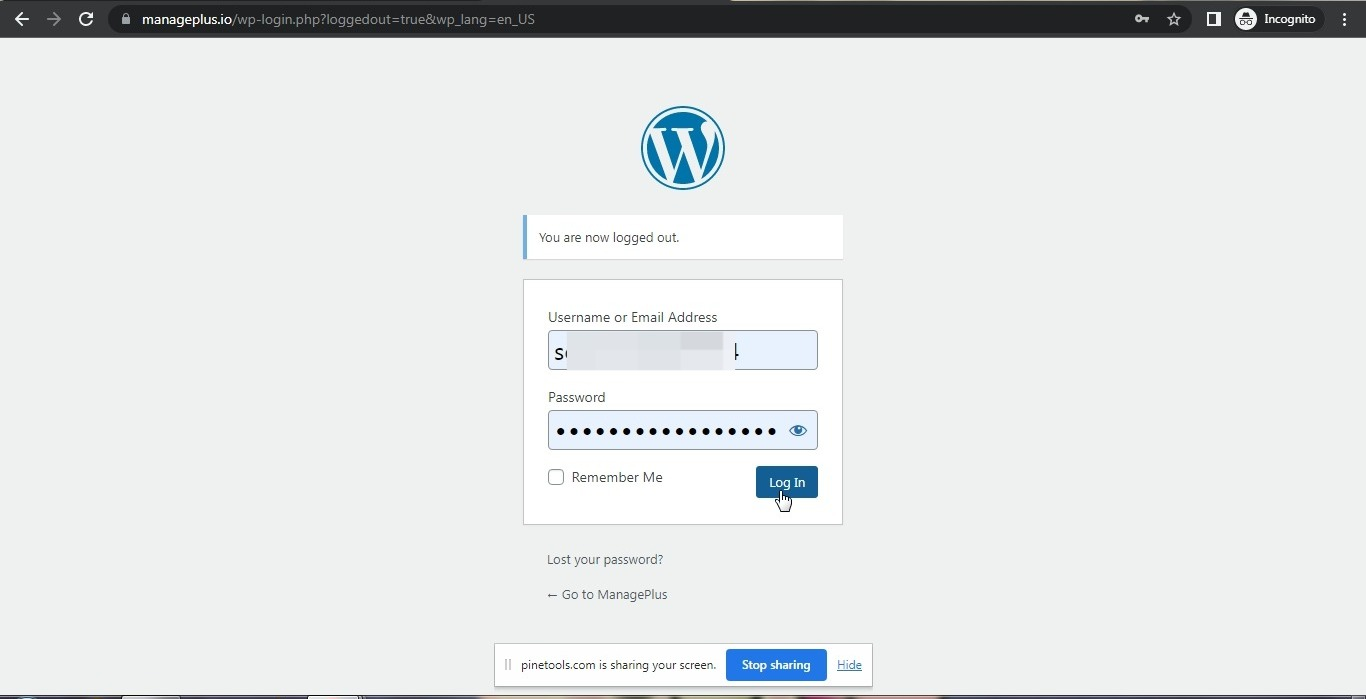
Step- 21.”Log in” to your website.
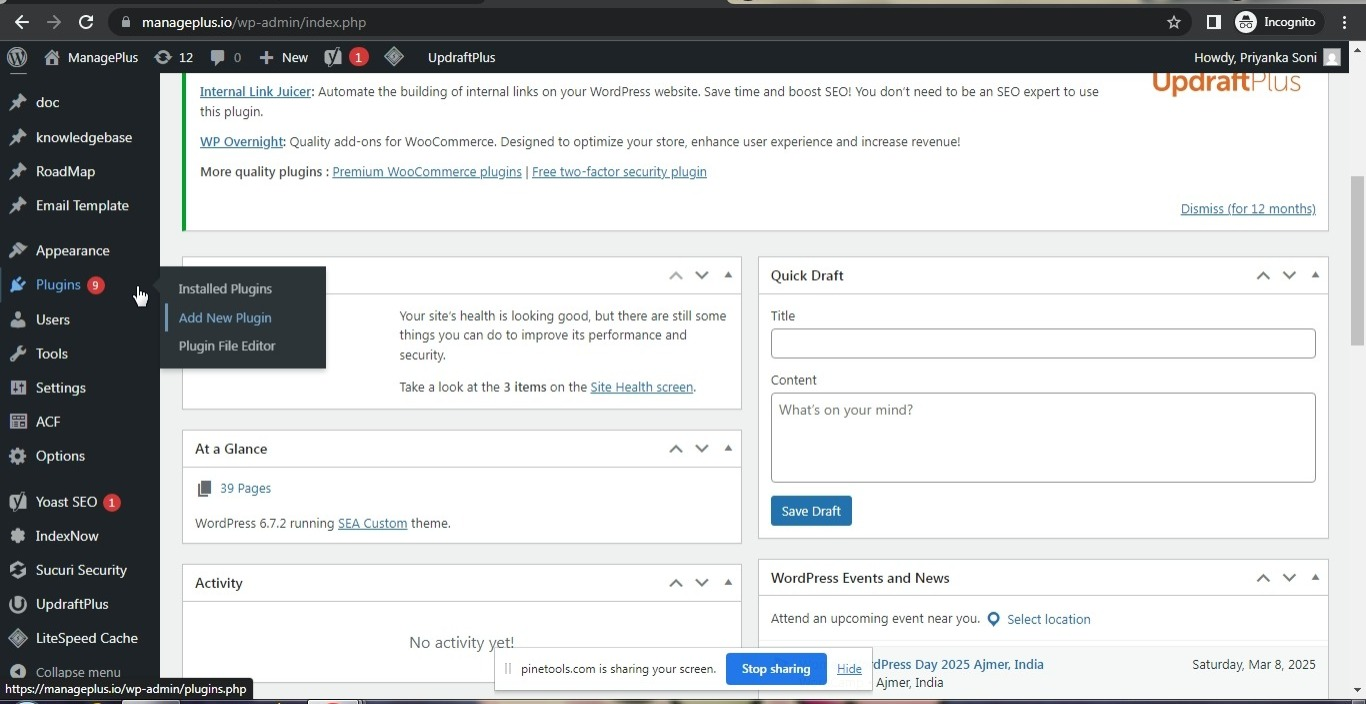
Step- 22. Hover the “Plugins” option and select “Add New Plugin”.
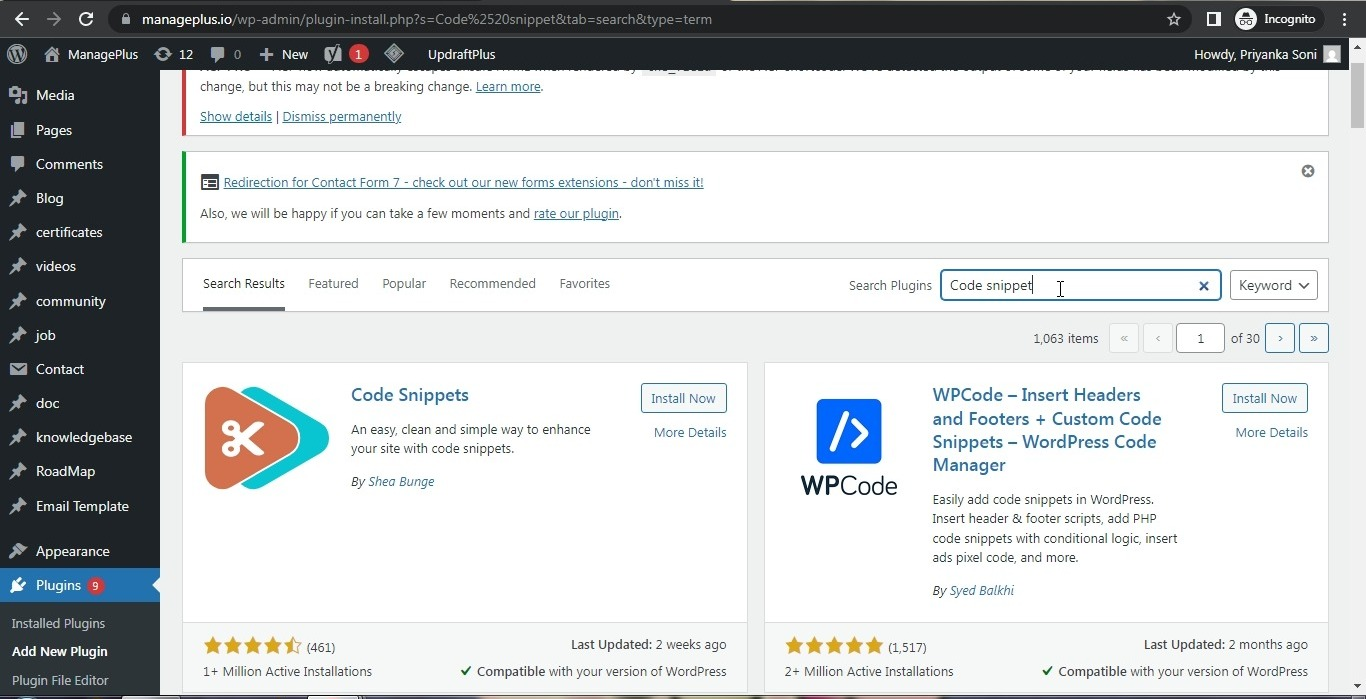
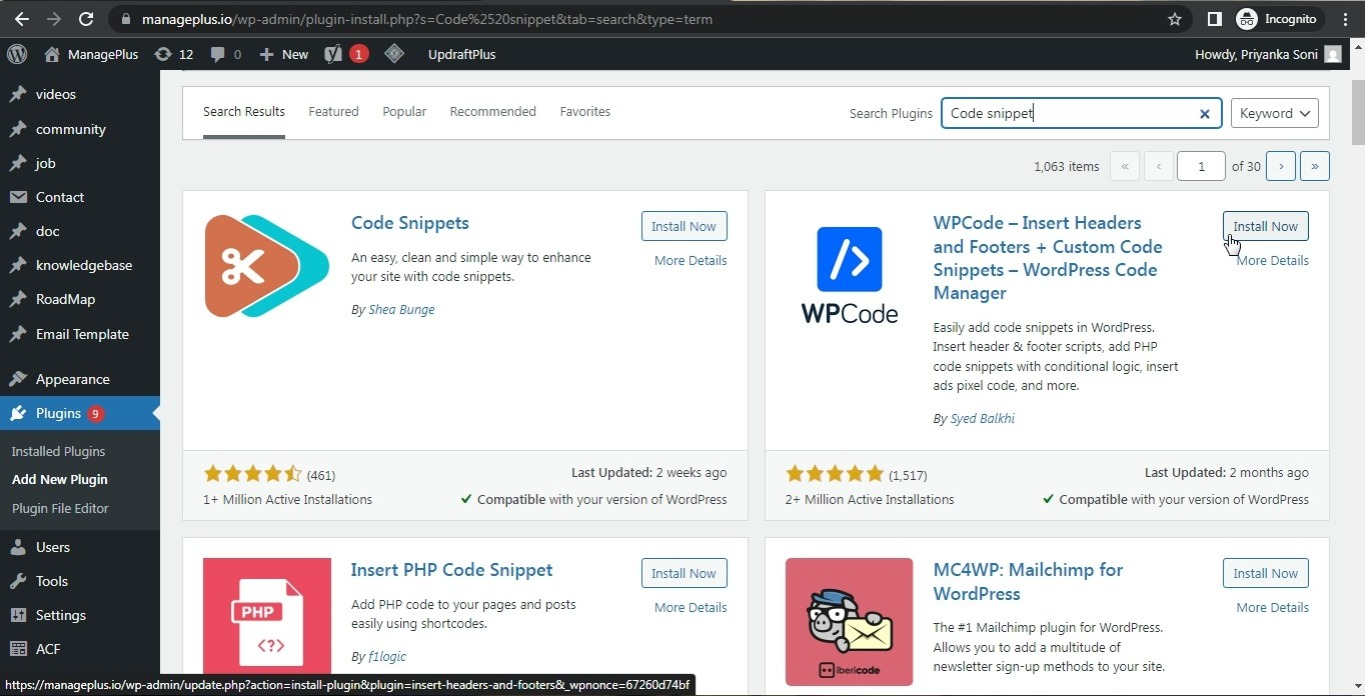
Step- 23.In the “Search Plugins” field, search for “Code Snippets”.
Step- 24.Click the “Install Now” button.
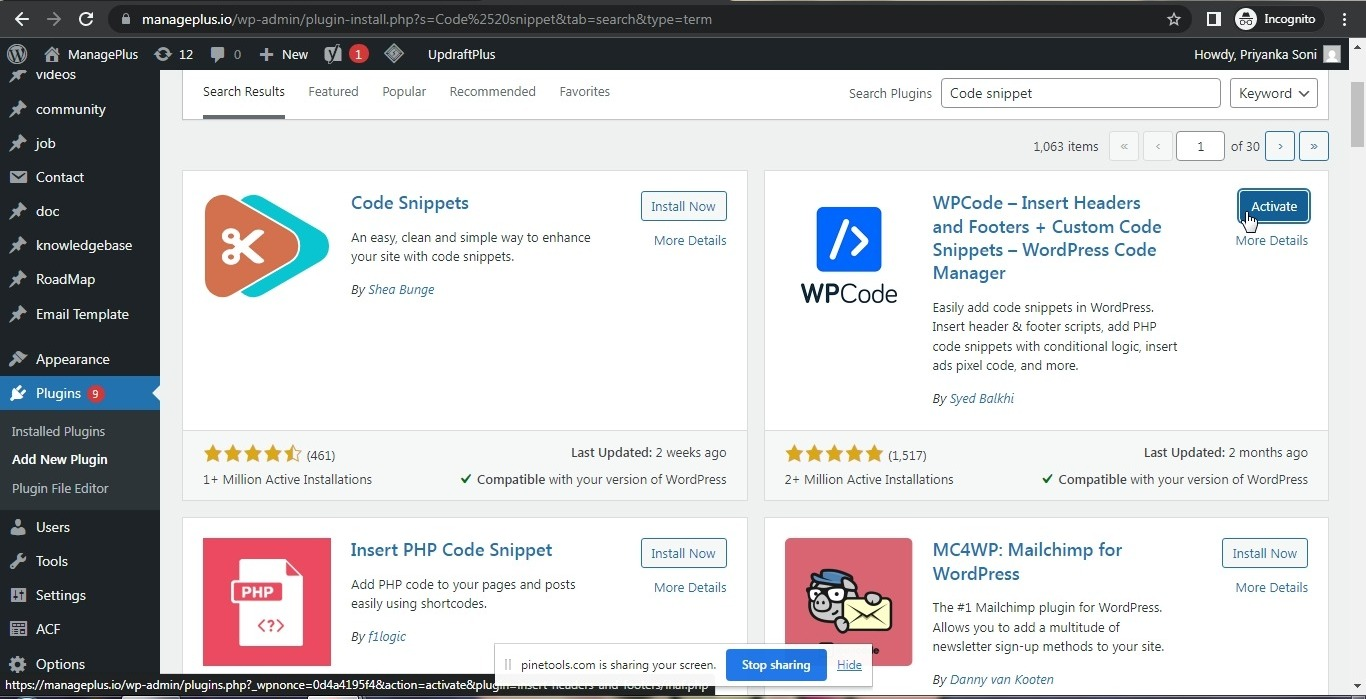
Step- 25.Click the “Activate” button.
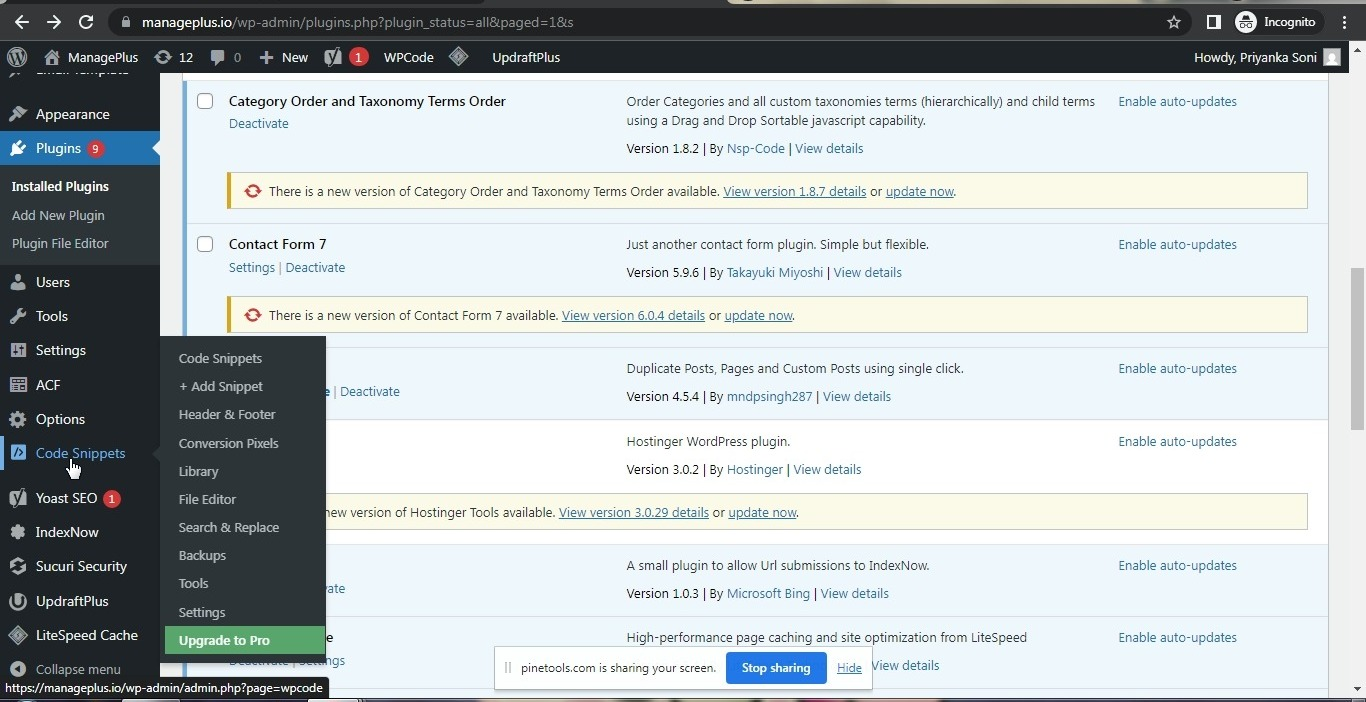
Step- 26.Click on the “Code Snippets” option.
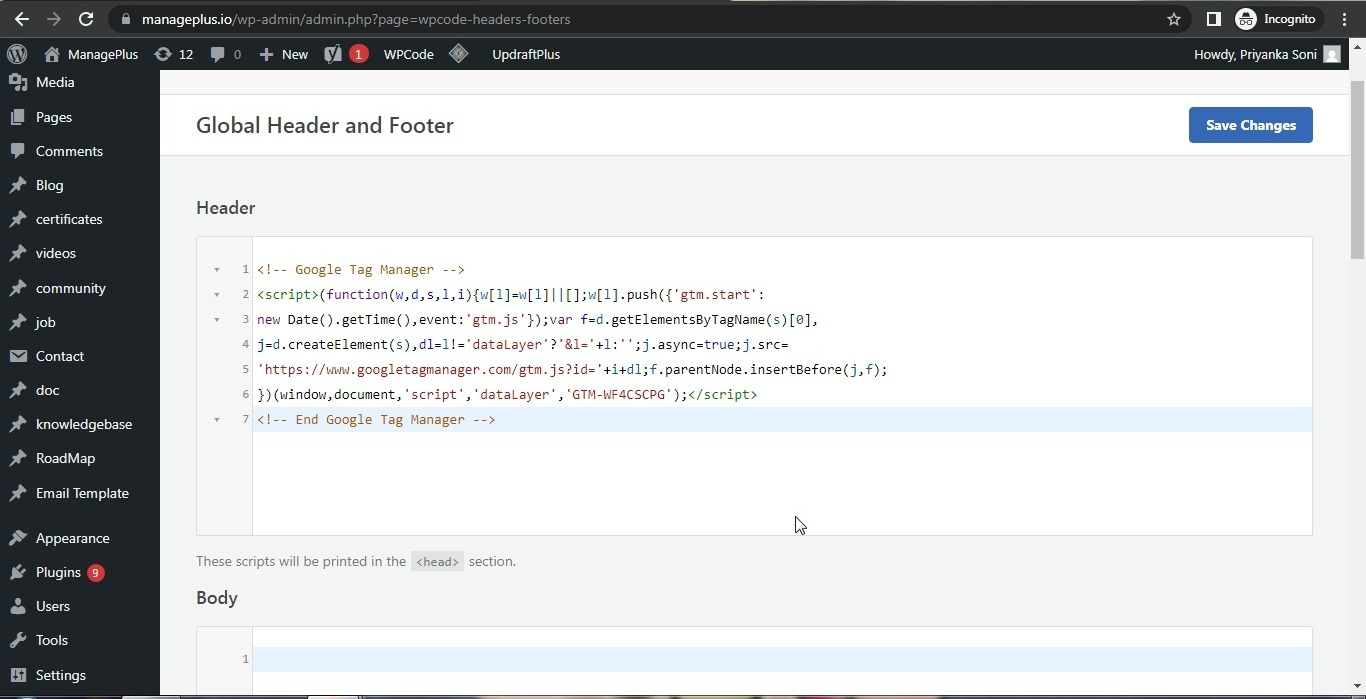
Step- 27.Click on “Header & Footer”.
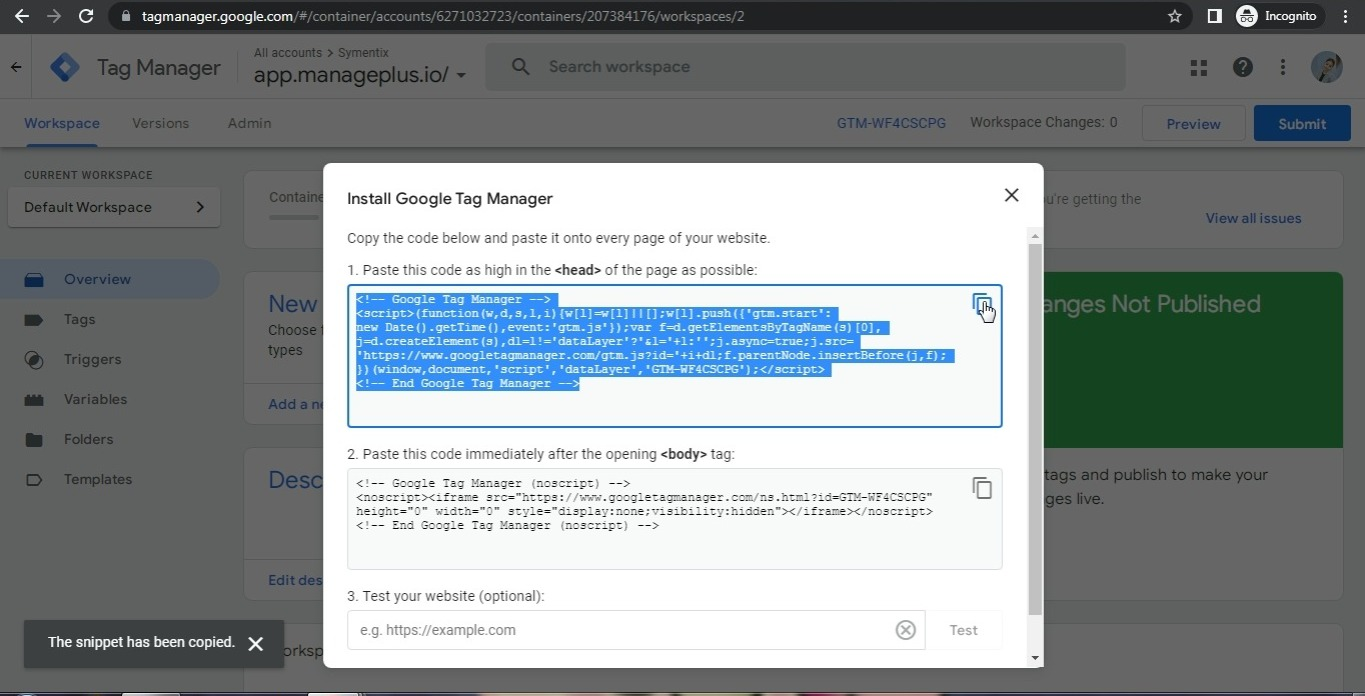
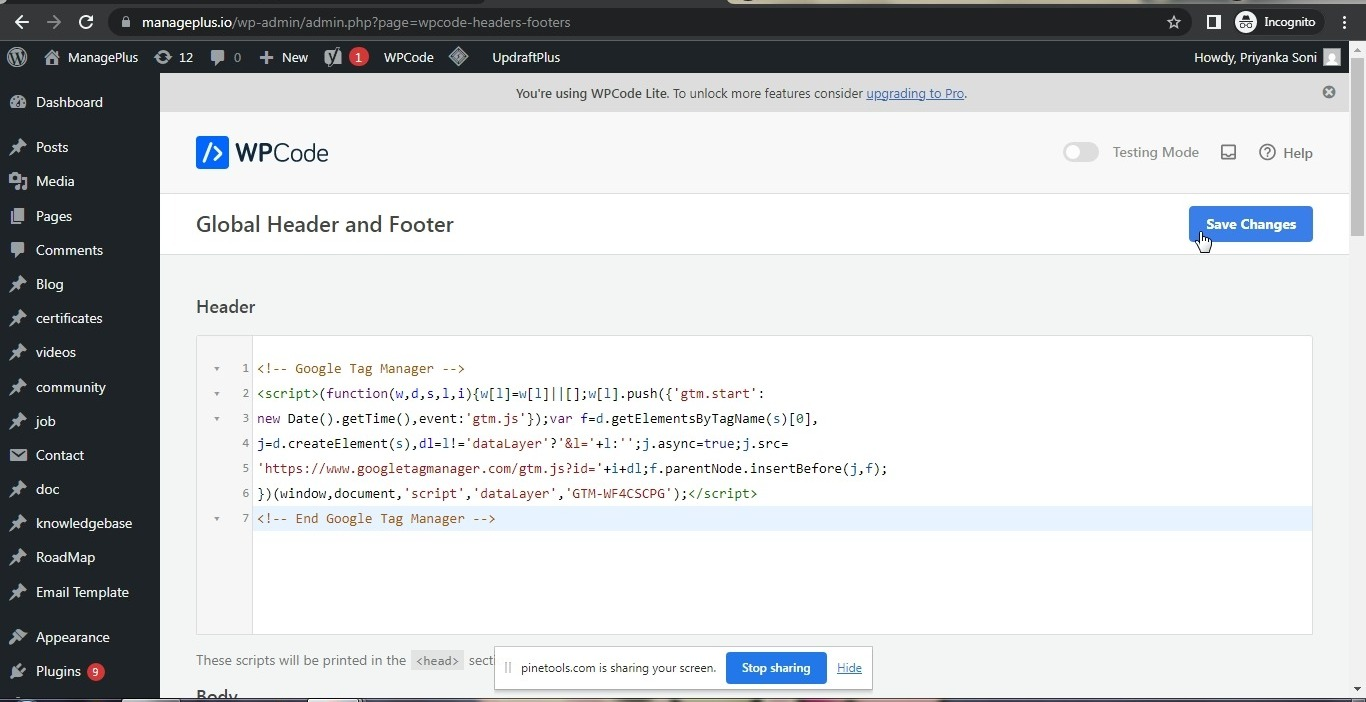
Step- 28.Open the “Tag Manager Code” page and copy the “first code snippet”.
Step- 29.Paste this “code in the header” of your website.
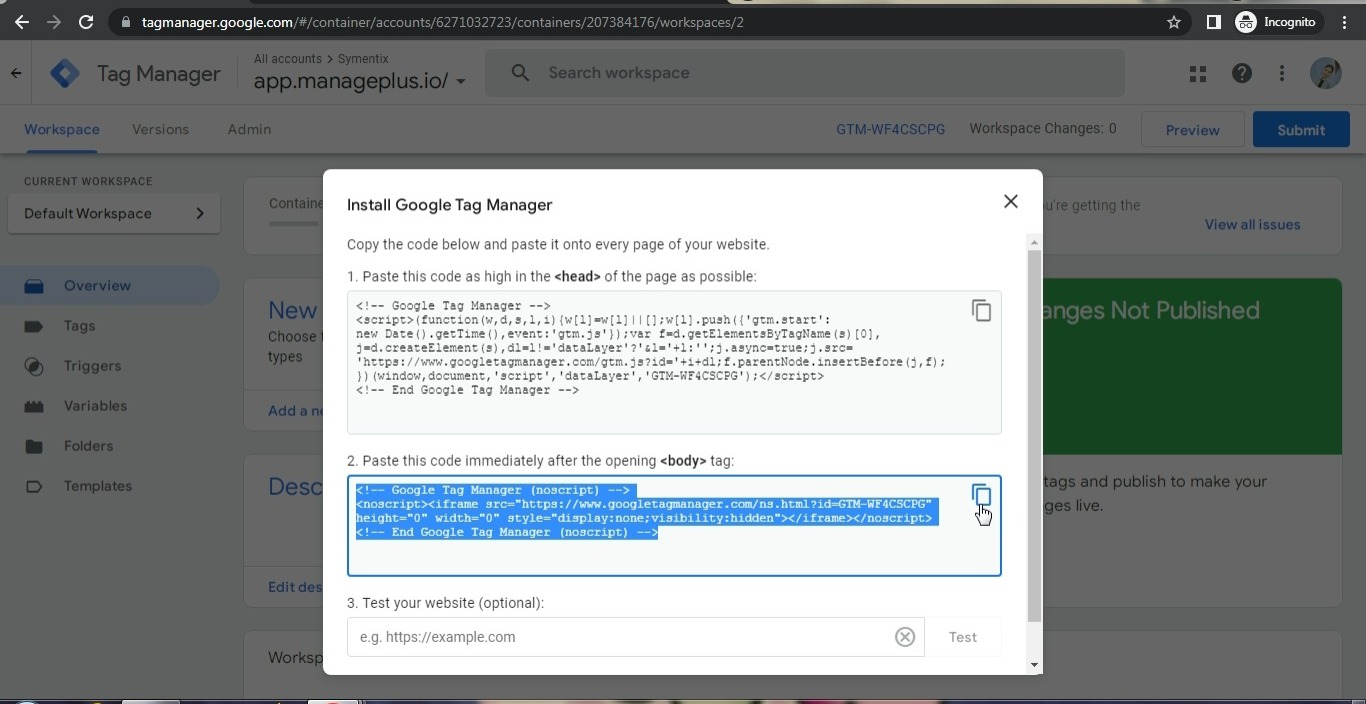
Step- 30.Open the “Tag Manager Code” page again and copy the “second code snippet”.
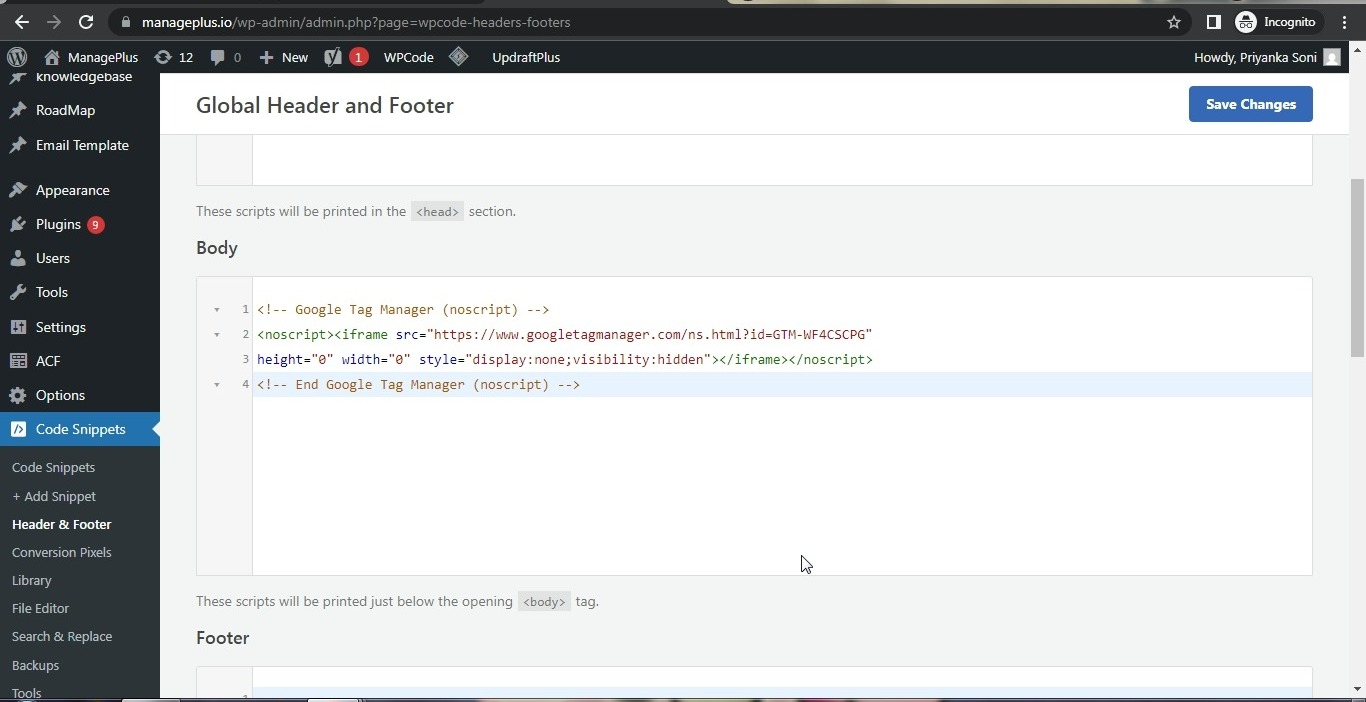
Step- 31.Paste this “code in the body” of your website.
Step- 32.Click the “Save Changes” button.
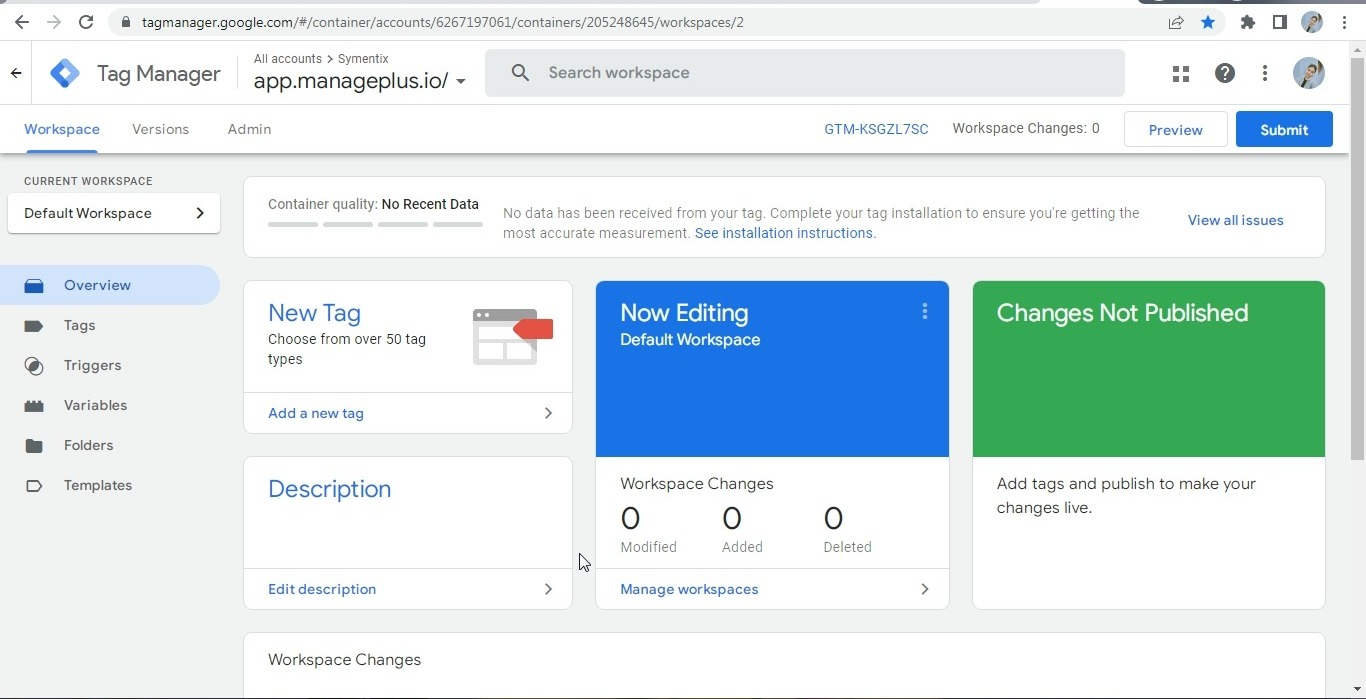
Step- 33. Open “Google Tag Manager”.
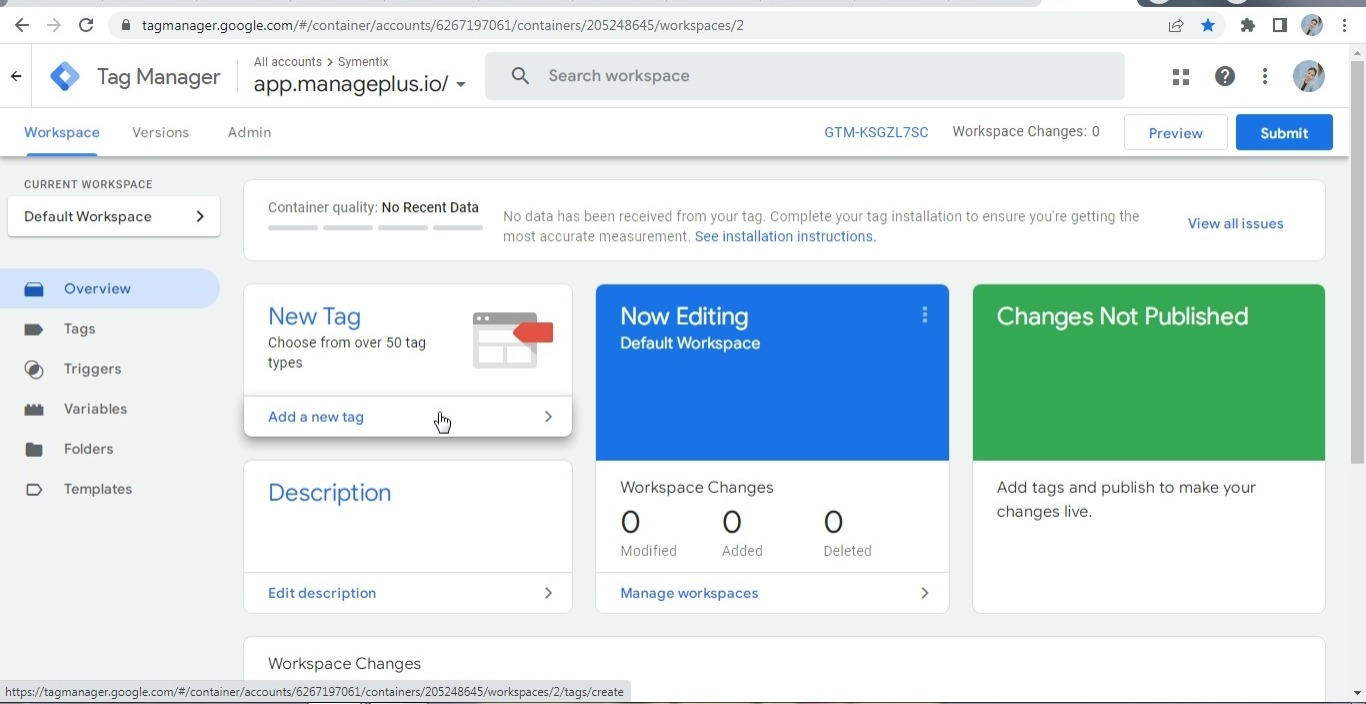
Step- 34. Click “Add a New Tag”.
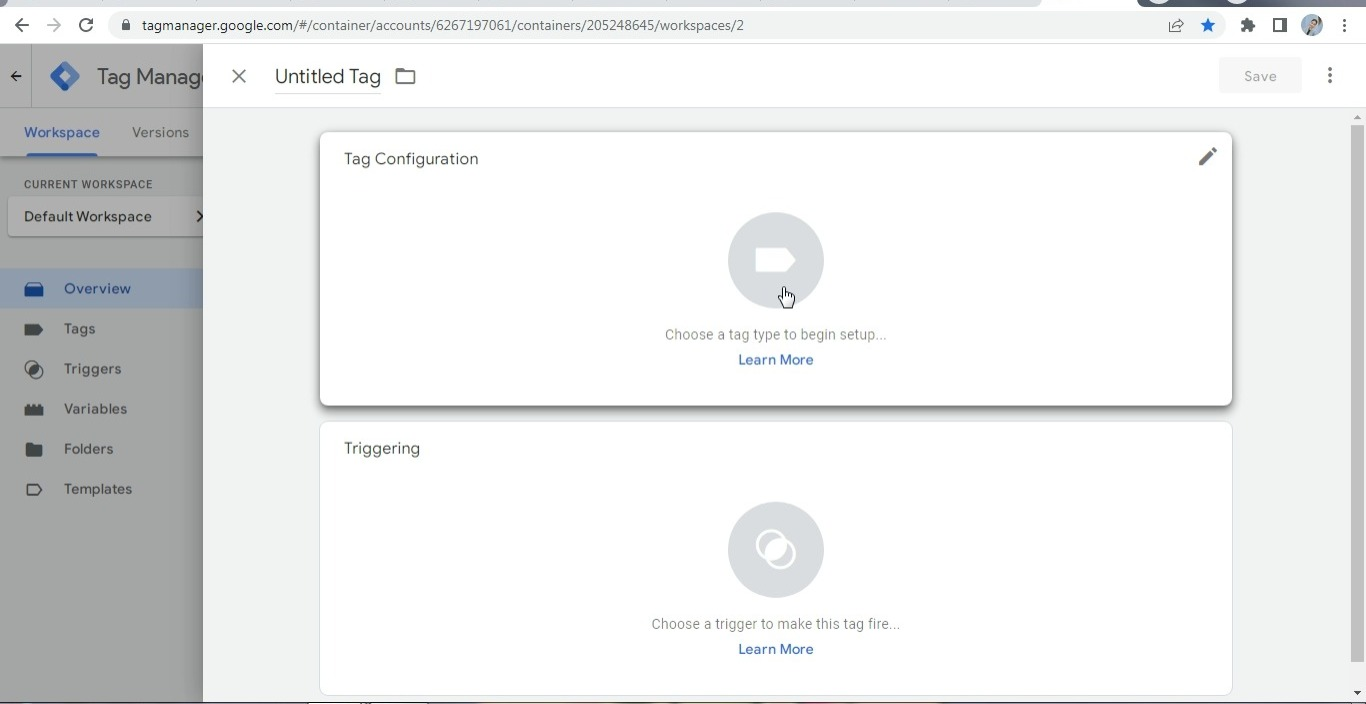
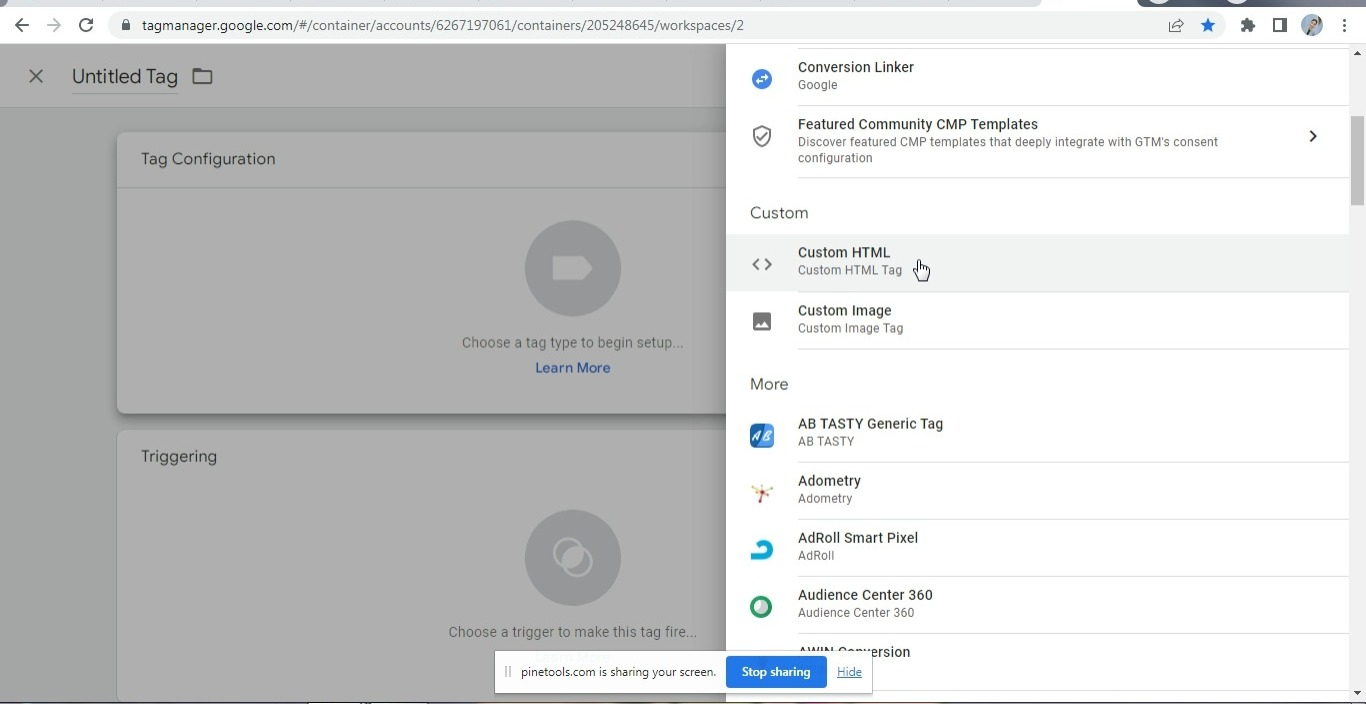
Step- 35. “Click on the Tag Configuration page”.
Step- 36. Choose “Custom HTML” as the tag type.
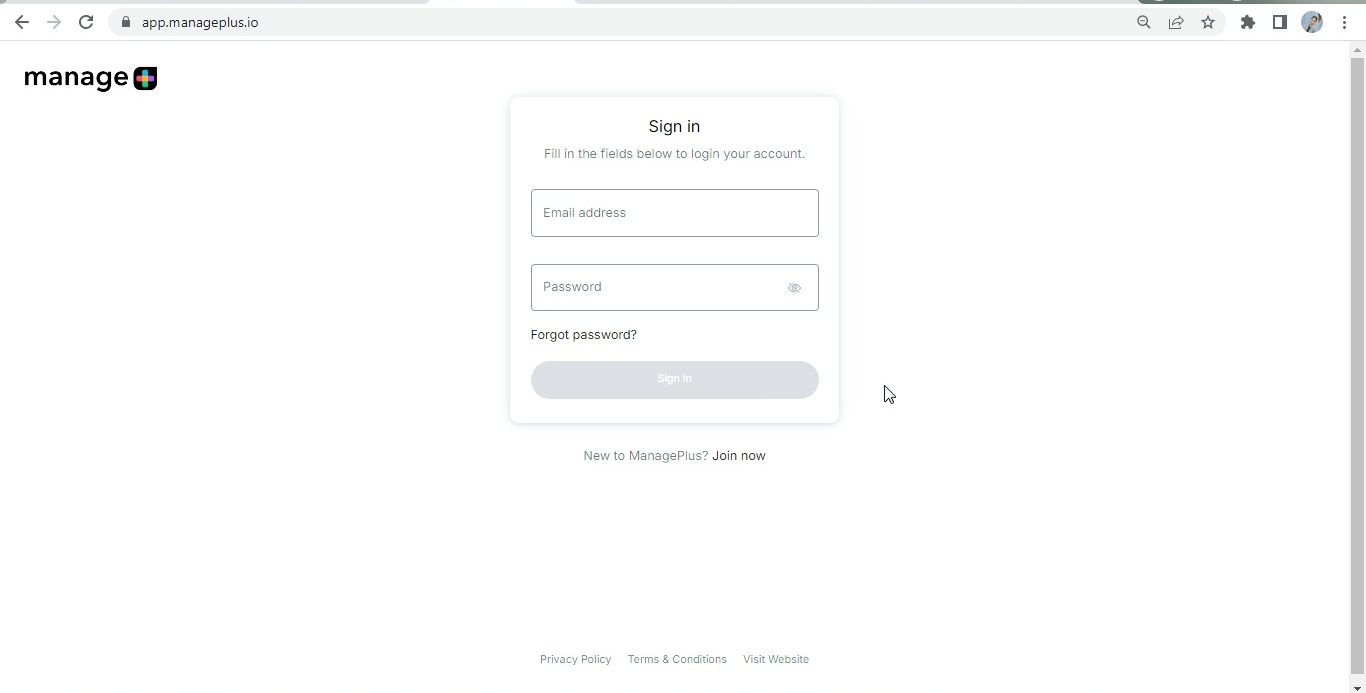
Step- 37. Open “ManagePlus” in a new tab.
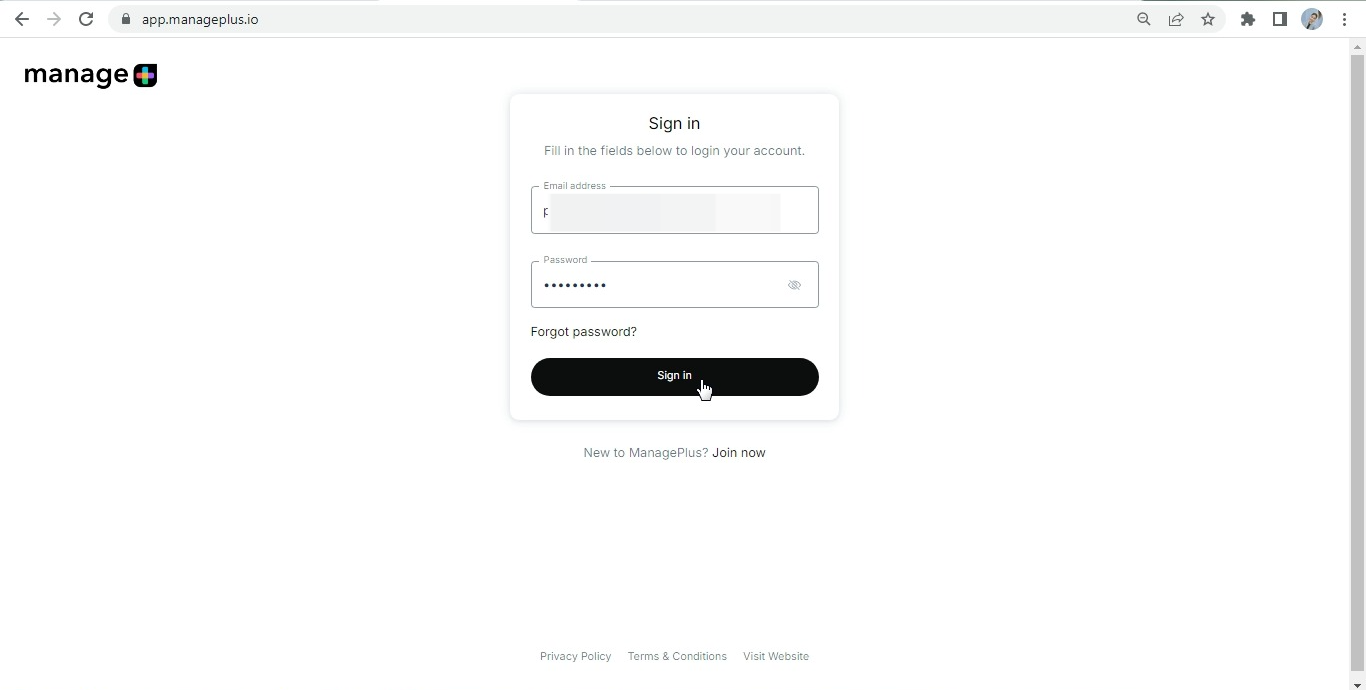
Step- 38. Login to “ManagePlus”.
Step- 39. Once logged in, access the “Dashboard”.
Step- 40. Click on “Profile”.
Step- 41. “Clicked on Manage Account option”
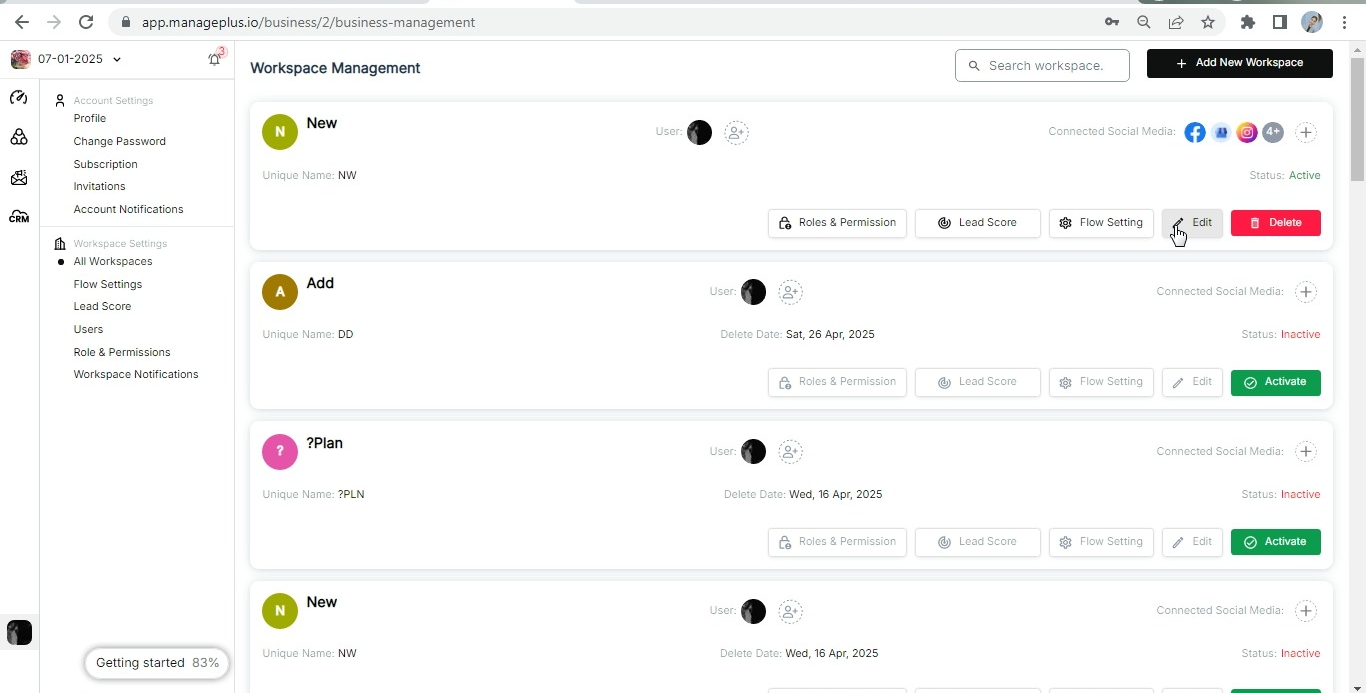
Step- 42. “Clicked on All Workspace option”
Step- 43. Click on the “Edit Board” option.
Step- 44. Copy the “Tracking Code” provided.
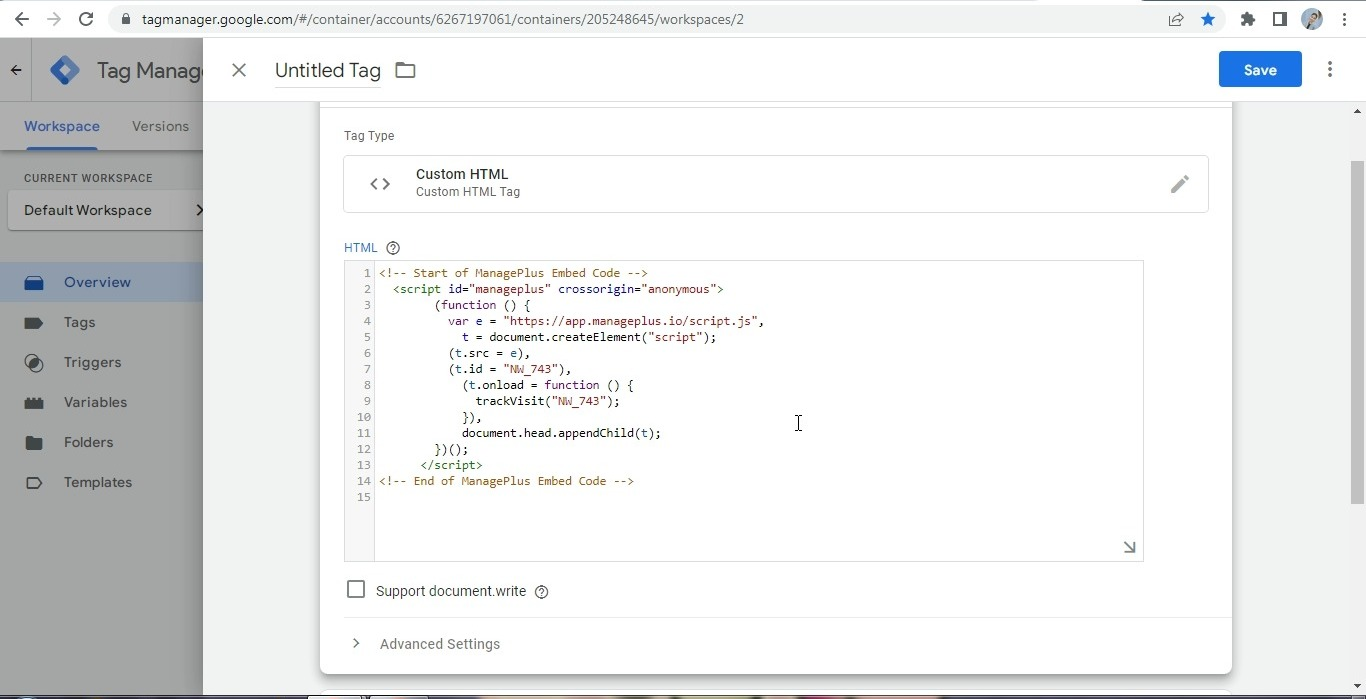
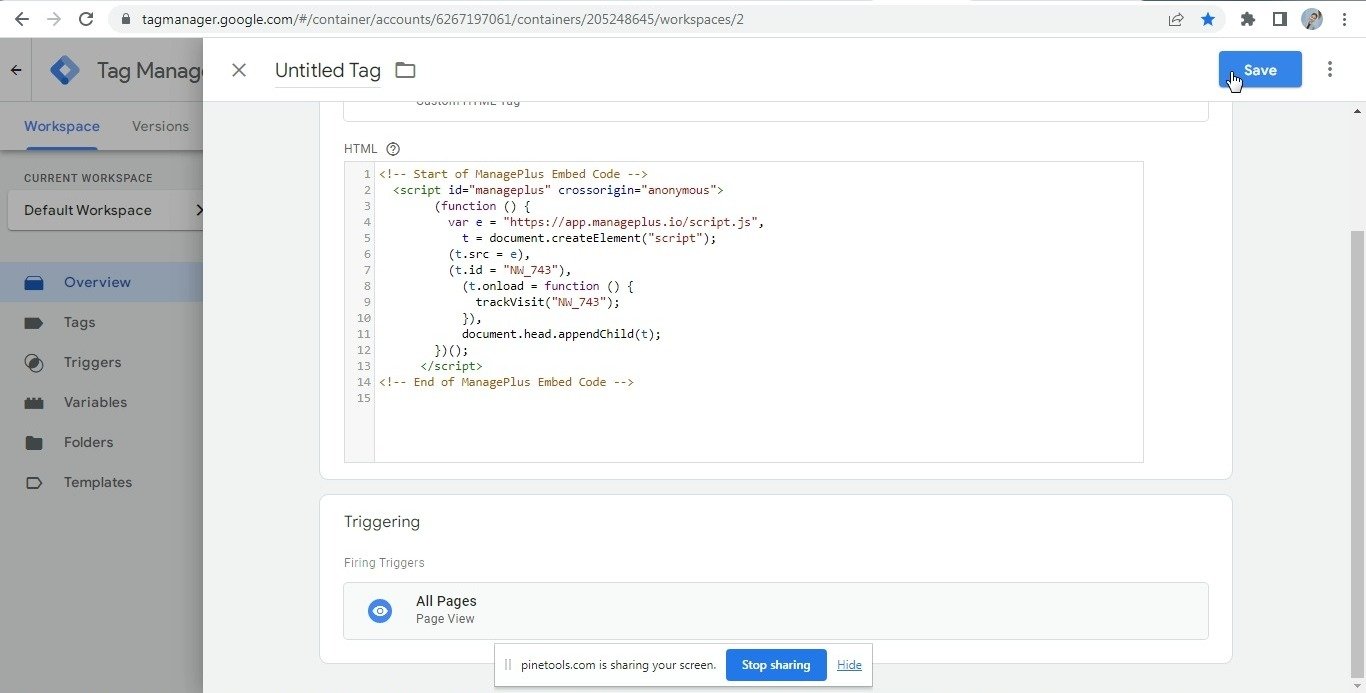
Step- 45. Paste the copied tracking code into the “Custom HTML” section in Google Tag Manager.
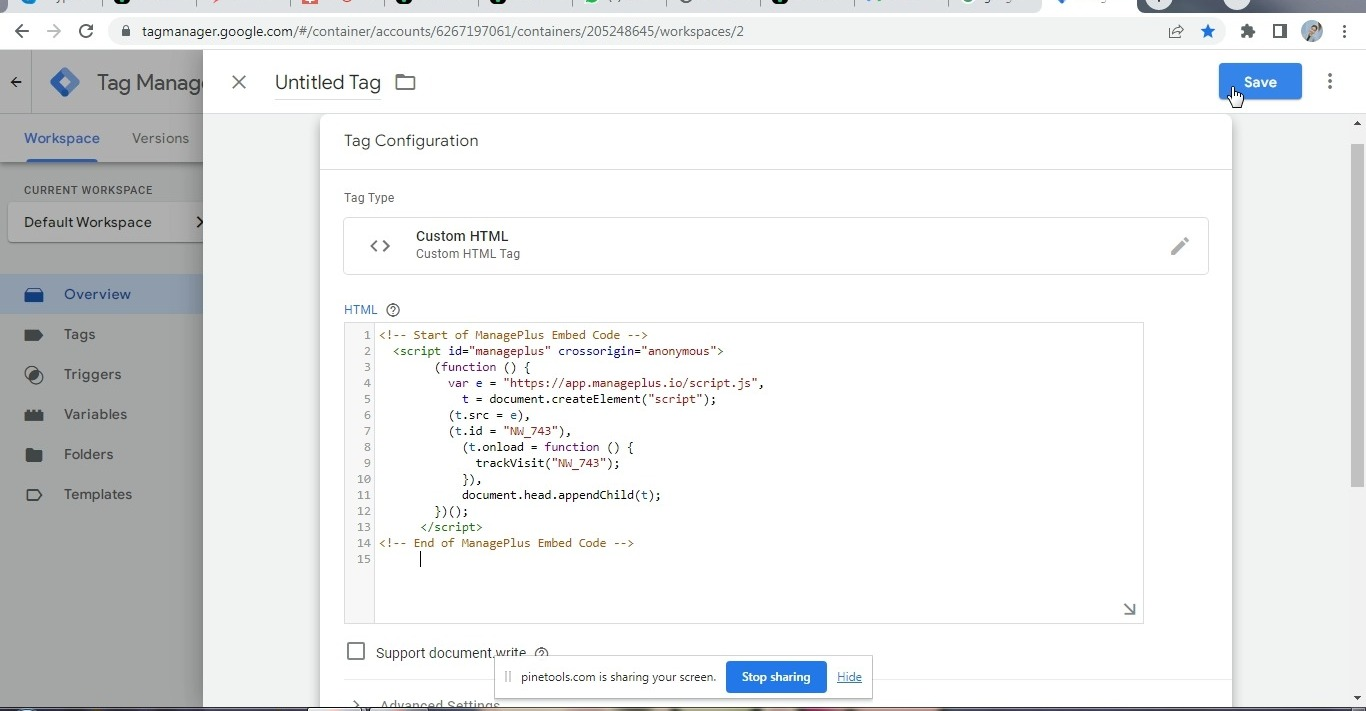
Step- 46. Click the “Save” button.
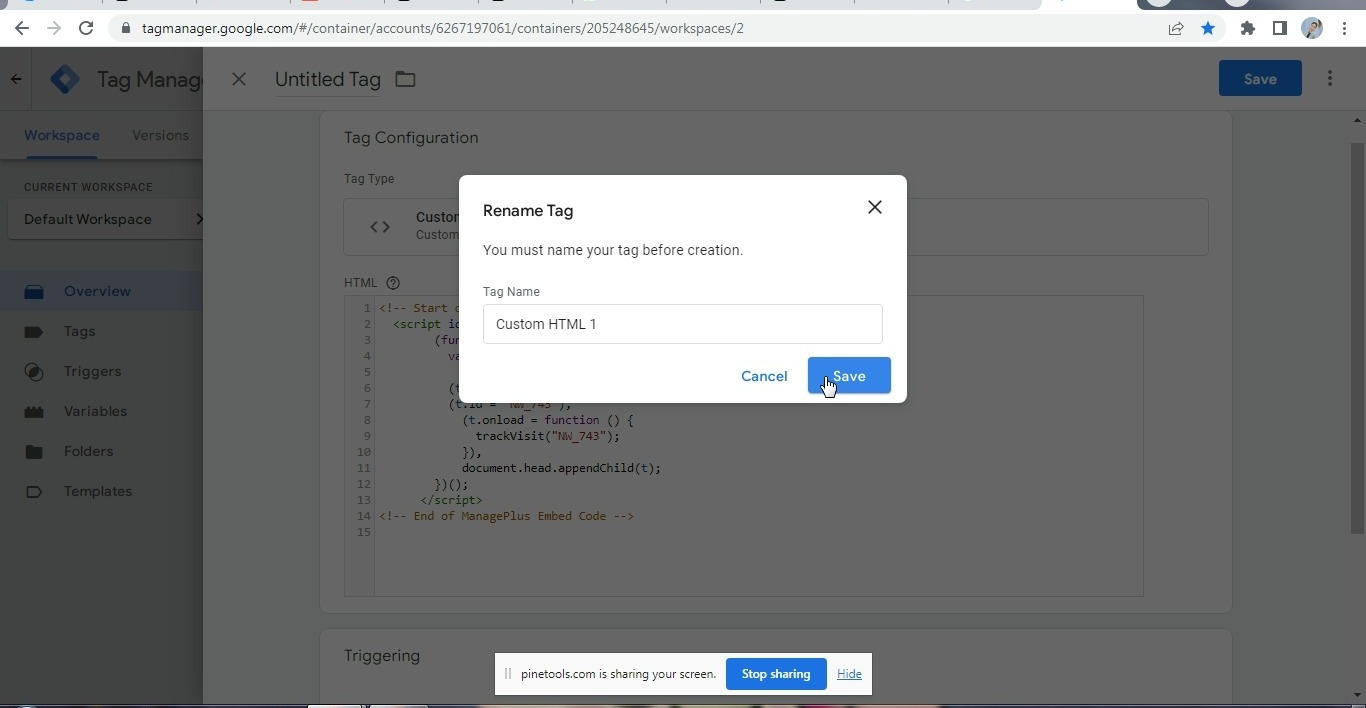
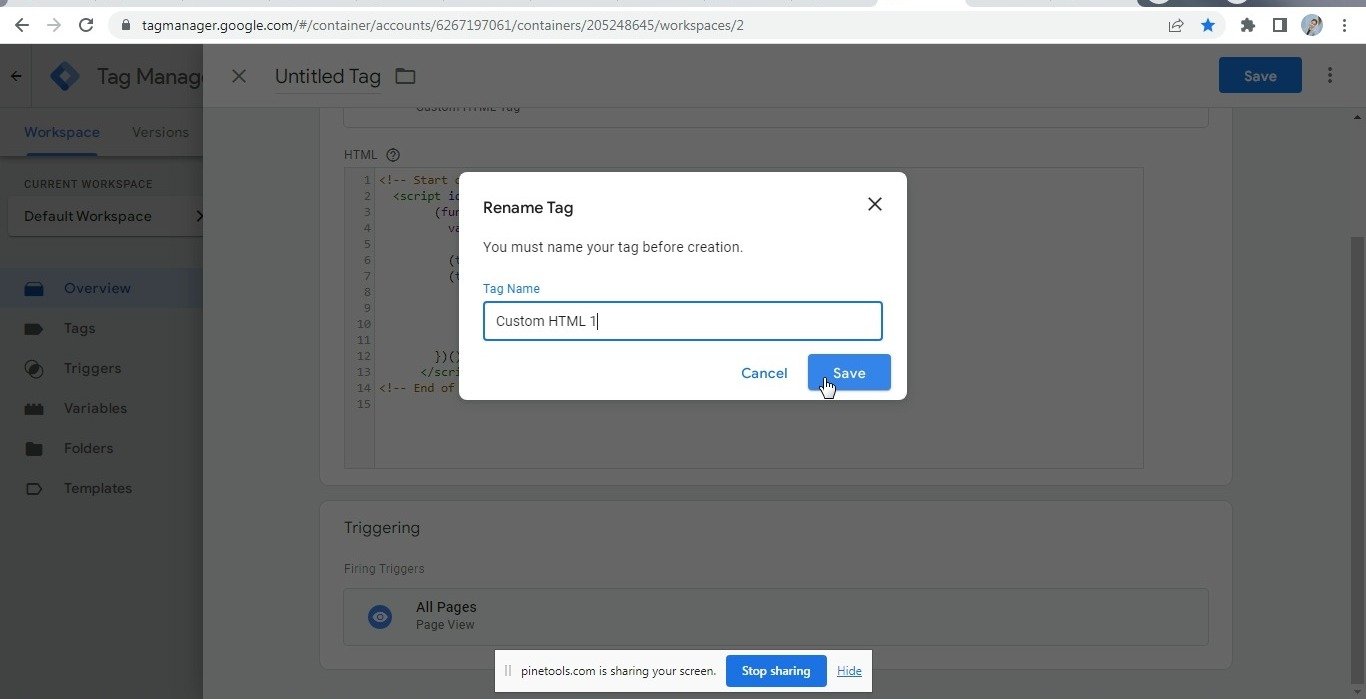
Step- 47. Rename the tag and save the changes.
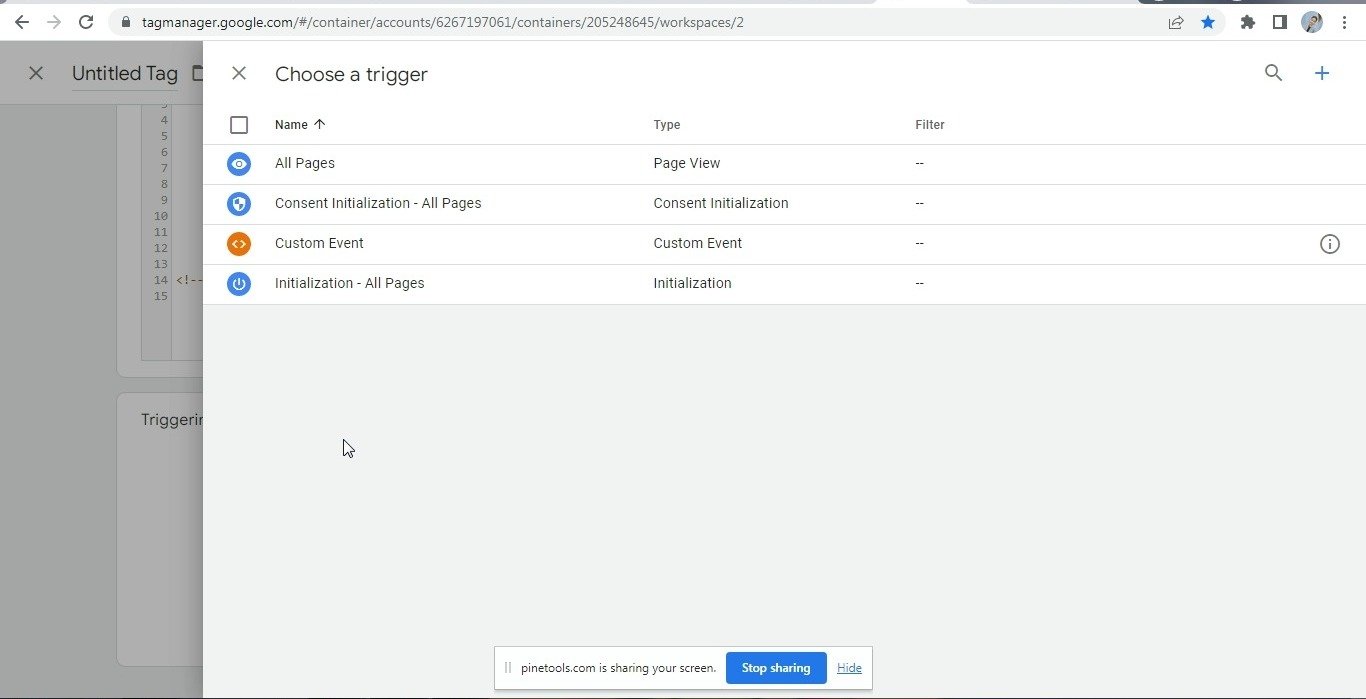
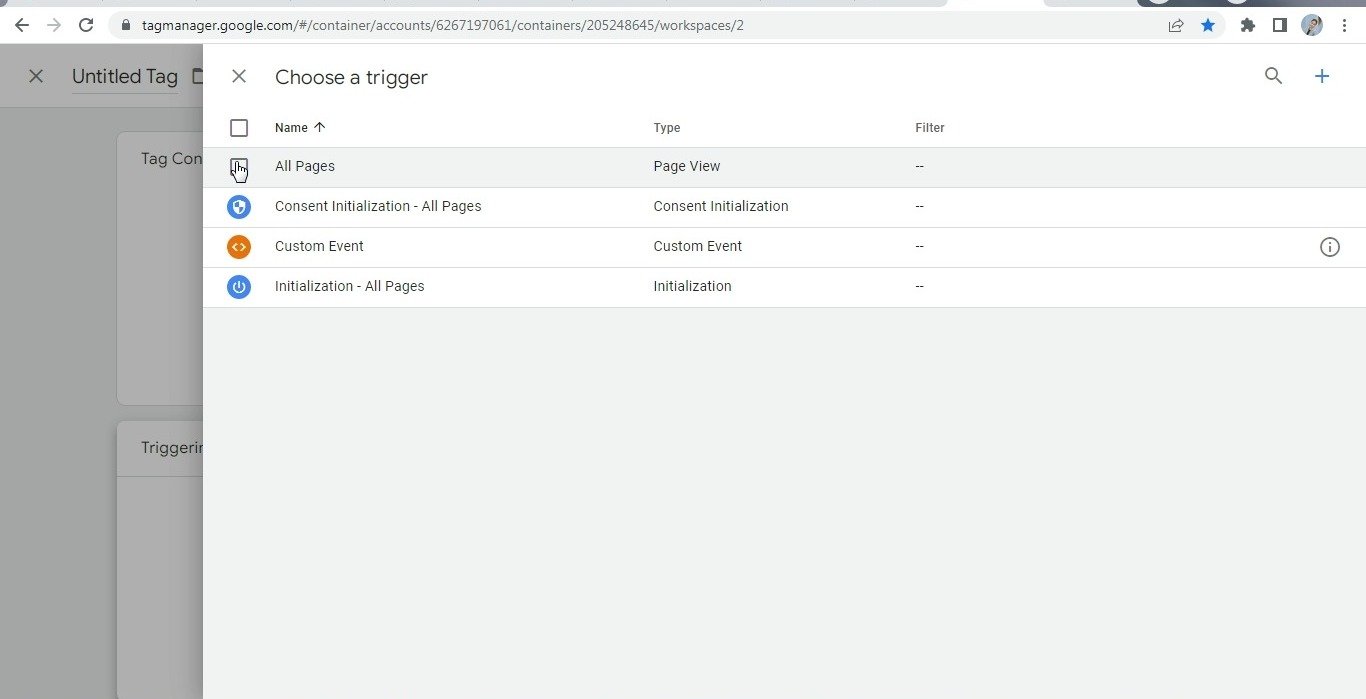
Step- 48. “Click on the Trigger page”.
Step- 49. The “Choose a Trigger” page opens.
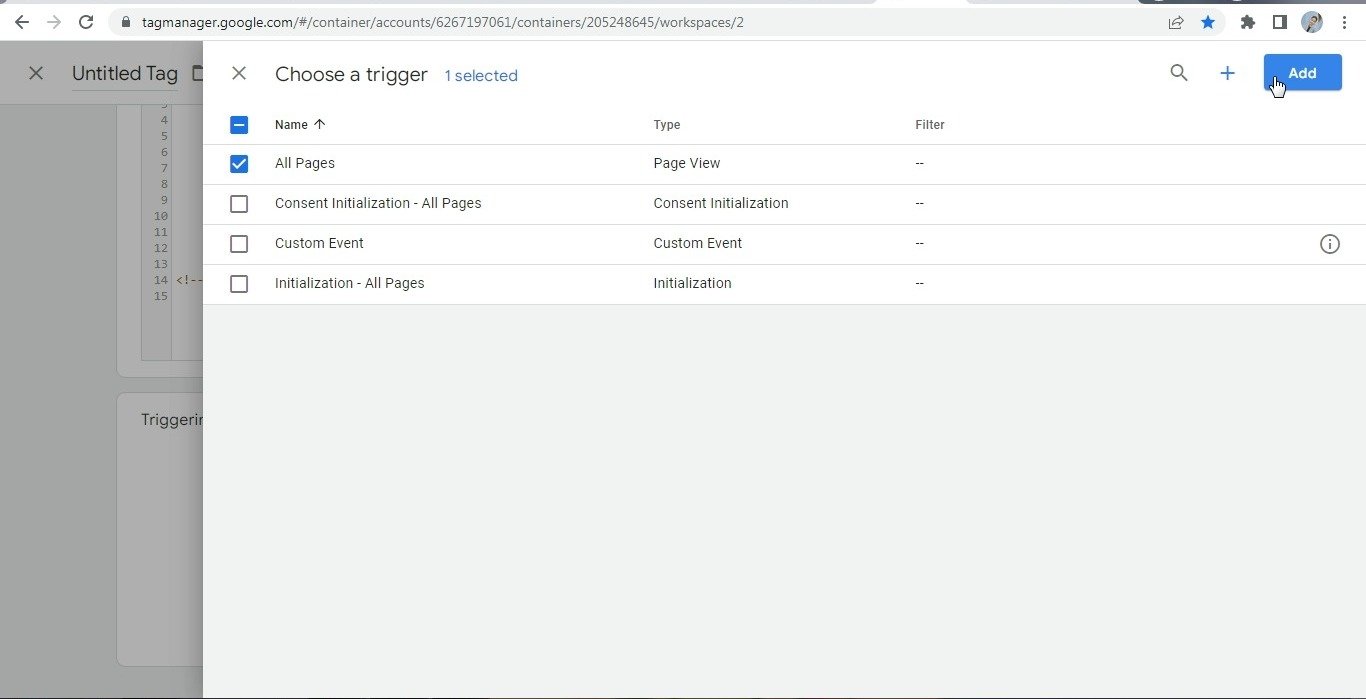
Step- 50. Select the “All Pages” option.
Step- 51. Click the “Add” button.
Step- 52. Click the “Save” button.
Step- 53. On the “Rename Tag” page, click the “Save” button.
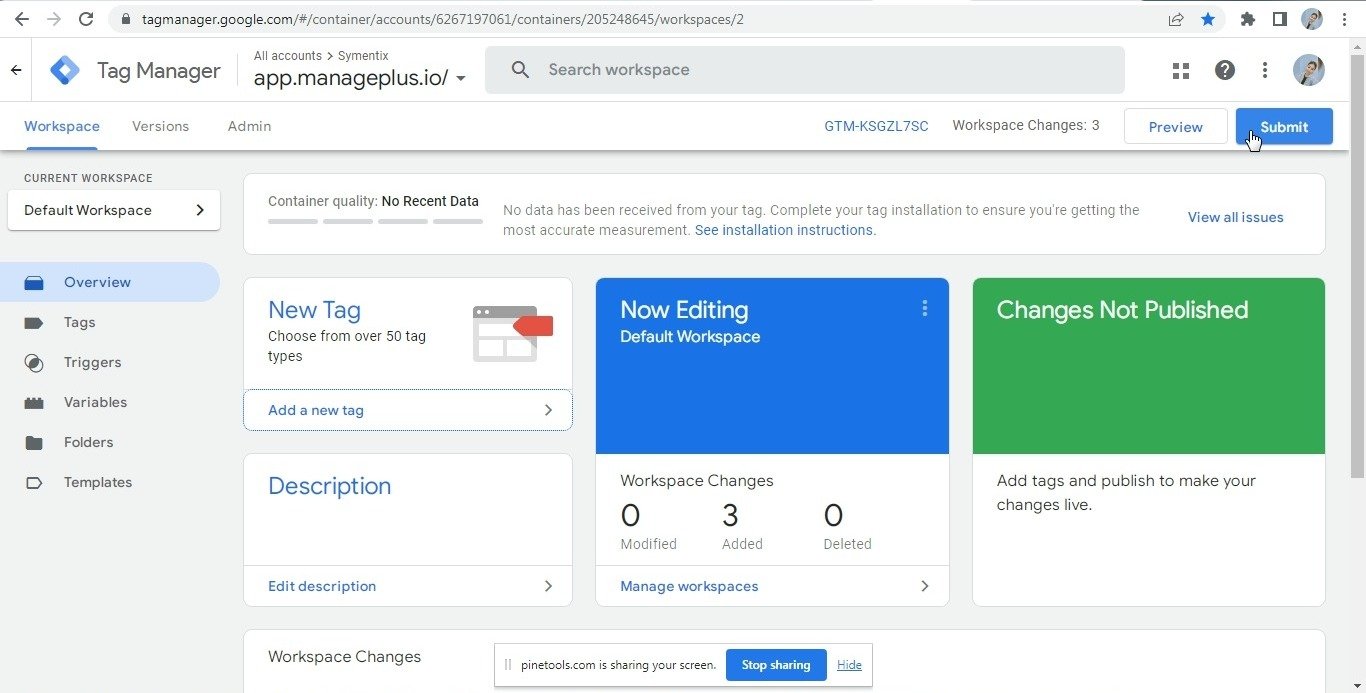
Step- 54. Click the “Submit” button.
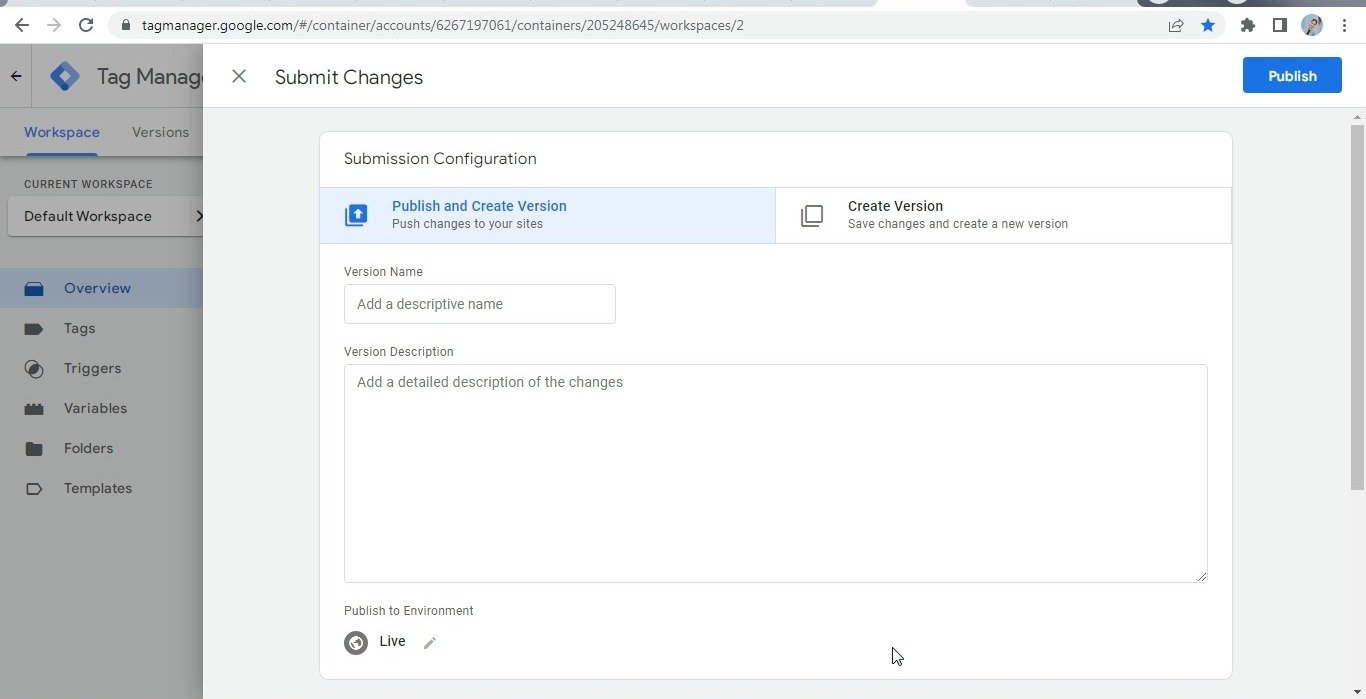
Step- 55. The “Submission Configuration” page opens.
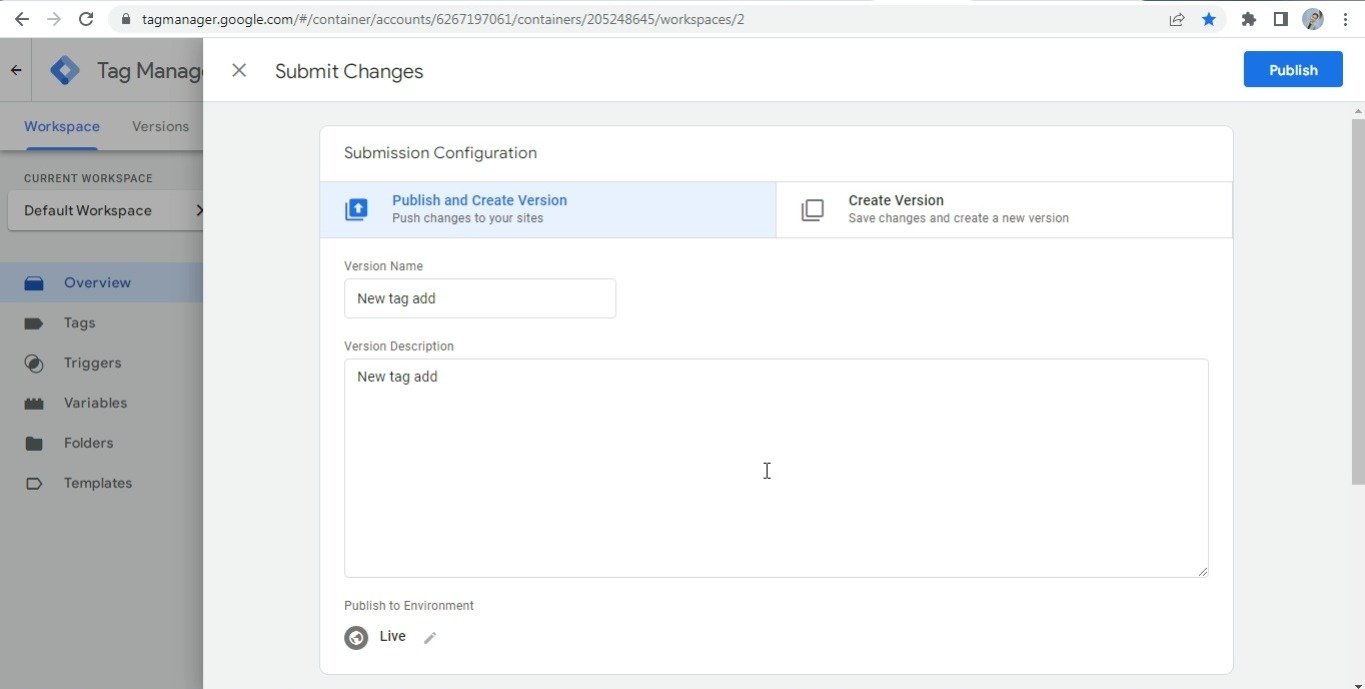
Step- 56. Enter the “Version Name” and “Description”.
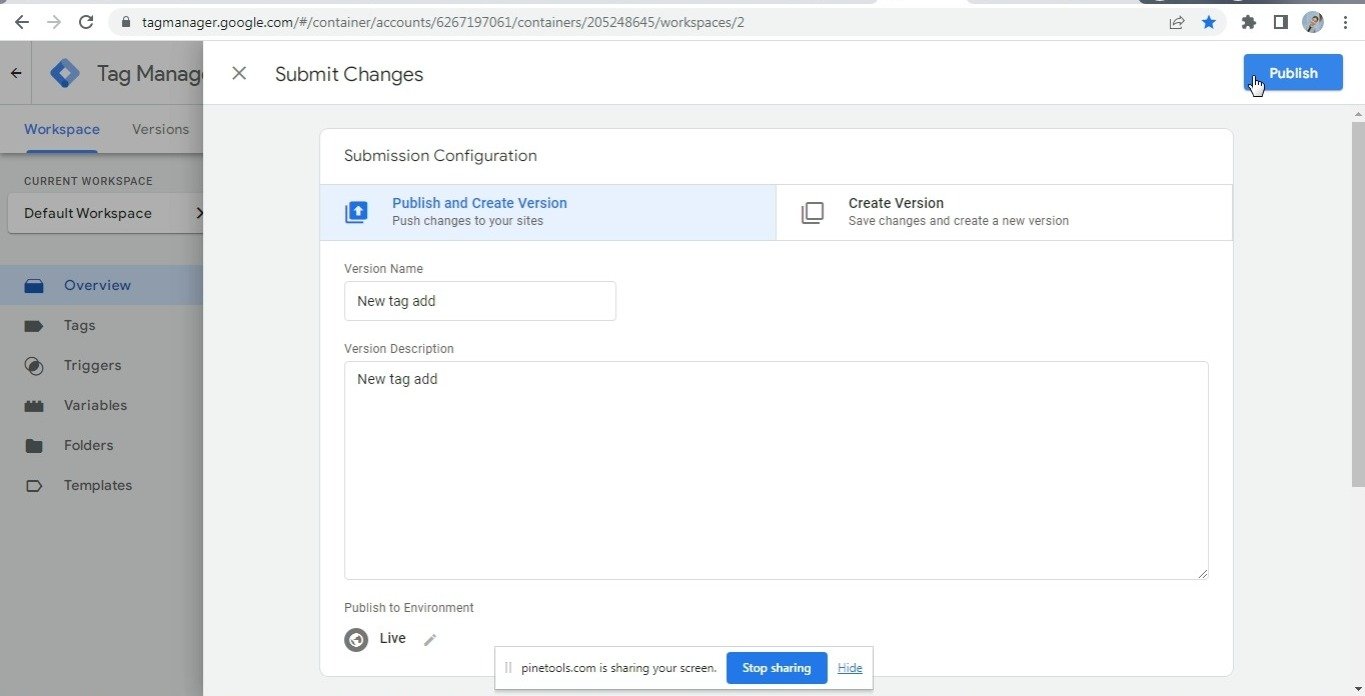
Step- 57. Click the “Publish” button.